Tuesday, January 27, 2015

A Pinspiration Card

Hello there, artsy friends! Today, I am taking the opportunity to show you some Pinspiration in the form of a card. For my previous Pinspiration posts, I completed scrapbook pages, but today I turned to Pinterest for a card.

The Heart 2 Heart Challenge this week was to create a design that is clean and simple. To me, clean and simple designs include a lot of white space, or negative space if you are using a colored cardstock. I am kind of terrible at clean and simple. I tend to effectively use white space, but I prefer layers and color in my artwork. That's why I went to Pinterest.


I found this design for a thank you card using circles as a border, and absolutely loved it. It still has layers, which I love, but it also has a lot of negative space making it super clean! I used this opportunity to make a Valentine's card for the husband.


I created a mat using Cranberry cardstock. I used several different stamp sets, unfortunately all retired, to create a heart layered border. The fox image and sentiment are also from a retired stamp set, but they were too cute to pass up.


On the inside I used the "I Love You" sentiment from the Wild About Love stamp set, and left the rest blank to write a personal (probably lovey dovey) note.

For more information about Heart 2 Heart Challenges click here.

Happy Scrapping, My Artsy Friends!

Sunday, January 25, 2015

Triple Layer Stamping

Hello again! My very first ever blog post was a demonstration on Triple Layer Stamping. Well, I am bringing back the technique to complete another Heart 2 Heart Challenge. This time the challenge was a color challenge, assigned by birthday. I have a December birthday, so I needed to create something featuring the color Ponderosa Pine. This was a challenge for me, because I don't regularly use this color in my artwork. It never seems to fit, because I either need a deeper green, or I need a brighter green. Ponderosa Pine is somewhere between forest green and green, like a pine tree! So, here is what I came up with.

So, Triple Layer Stamping is a technique that makes a big impact without a lot of work. The Ponderosa Pine Cardstock (layer bases) is cut at 5.25 x 4, 4.75 x 3.5, and 4.25 x 3. You'll want to set these aside until you've finished stamping.

The White Daisy Cardstock is cut at 5 x 3.75, 4.5 x 3.25, and 4 x 2.75. Taking these three pieces, you will glue them together with a removable adhesive. (I use painter's tape rolled up on the backs.)

Choose you image to stamp. For this card I used A Budding Friendship. When you stamp, stamp across the layers of the three pieces. Remove the tape, and adhere the layers to the cardstock bases. *Note, I forgot to take a picture before I put the layer bases on. You do not stamp with these bases in place!


After I layered the card, I added some hemp twine and button to create a sort of ribbon. I also added gold gemstones to the flowers to give the card some bling. Lastly, I added a "Just Because" sentiment stamped in Cocoa that I heat embossed.


Important: 
  • Make sure you do not mix up the direction the paper is positioned when you remove the tape. This will cause your final product to line up incorrectly.
  • I also recommend using a thick cardstock as your card base. CTMH White Daisy or Colonial White both work perfectly for this. I do not recommend using our premade card bases for this particular technique, because the card is quite heavy, and the bases cannot support it as well.

For more information about Heart 2 Heart click here.

Ingredients: White Daisy Cardstock (1385), Ponderosa Pine Cardstock (1276), Ponderosa Pine Ink (Z2145), Saddle Ink (Z2171), Bling Gem Gold Assortment (Z2023), A Budding Friendship Stamp Set (D1602)

Happy Scrapping, My Artsy Friends!

Saturday, January 24, 2015

Robot Birthday Card: Two Challenges

My husband is a total tech geek! He builds robots in our basement in his spare time. I love that about him. It is his artistic outlet, much like my papercrafting. Husband also has a birthday coming up soon, so it was time to create a fun, geeky card! I took the opportunity to complete two challenges by creating this card.


So, the first challenge was from Heart 2 Heart's Tic-Tac-Toe Board. I chose to do the first column: Sketch, Stamping, Manly.


To fulfill the sketch portion of this challenge, I used Mojo Monday #381.

For the stamping and manly portion, I used the Robot Family stamp set to create an interesting B&T on the circle. I created an overlay of the same gear stamp in Whisper, Slate, and Pear. Then, I stamped the man robot in Black first, and I used my markers to color the robot in with colors that coordinated to the retired Later Sk8er paper pack.


I added a lovely geek sentiment from the same Robot Family stamp set to the bottom. And, there you have it. Two challenges completed to make my hubby's birthday card!


For more information about Heart 2 Heart Challenges click here.
For more information about Mojo Monday click here.

Ingredients: Later Sk8er Paper Pack (Retired), Lagoon Cardstock (X5762), White Daisy Cardstock (1385), Robot Family (C1583), Whisper Ink (Z2172), Slate Ink (Z2173), Pear Ink (Z2197)

Happy Scrapping My Artsy Friends!

Monday, January 12, 2015

Happy Anniversary Using Artbooking

Hello again! Today, I am going to show you a page using Cricut Artbooking. For my 4th wedding anniversary, we had a family date/ picnic at the park. Cricut Artbooking has an adorable tree overlay that I love, but haven't had the right opportunity to use yet. It sort of worked perfectly for this page.


I used a basic design for Make It From the Heart Vol. 2, but put my own spin on it, including a hidden journaling space behind the dominate photo.


To embellish the page, I used a retired stamp set that featured a cloud shape along with a sentiment. I turned the cloud stamp upside down, so that the sentiment would not show, and then I stamped it using Glacier ink.


I also added a little family cut from Cricut Artbooking. The image is actually a man and a woman, but I cut it twice in two different sizes, and then cut off the smaller woman to create a three person family, like mine! The corkboard embellishments are Pathfinding Accessories.


Happy Scrapping, My Artsy Friends!

Pinspiration: July 4th

Good afternoon, everyone! Welcome to Day Five of my Pinspirations blog series. I am relatively new to Pinterest. Last week was the first time I ever made something I had pinned. I mostly use Pinterest to post artwork from this blog, but I wanted to try creating artwork inspired by other's pins. All of the original pins for this series can be found on my scrapbook pages ideas board.

For today's spread, I took a single page design celebrating fall and used it to create a single page celebrating July 4th. I actually have three pages total for the 4th of July, but the other two specifically focus on my son.


I really liked all of the fun layers on this page, but I wasn't too keen on the placement of the photos. I spread them out slightly, so they were not overlapping as much. And instead of having a large B&T on top of a 12x12 cardstock, I created  an overlay using Cricut Artbooking.


The fireworks accent came from Cricut Artbooking, as well. I really like the way it looks like it is exploding from behind the photo.


For the banner, I cut the pieces using Cricut Art Philosophy and stamped them with All the Details. The font stamp is the retired Circus Alphabet. The "4th" is cut using the fancy font on Cricut Art Philosophy.


Happy Scrapping, My Artsy Friends!

Thursday, January 8, 2015

Pinspiration: Splash Pad

Good morning, everyone! Welcome to Day Four of my Pinspirations blog series. I am relatively new to Pinterest. Last week was the first time I ever made something I had pinned. I mostly use Pinterest to post artwork from this blog, but I wanted to try creating artwork inspired by other's pins. All of the original pins for this series can be found on my scrapbook pages ideas board. These are all single page designs that I have turned into double page spreads using CTMH products.

For today's spread, I took a single page birthday layout from Joann Fabrics, and created a double page layout for my son's first trip to the Splash Pad.


I really liked the sunburst on this layout, but I wanted to do a full sun and eliminate the journaling space. I used the Cricut Artbooking cartridge set to real dial size for the sunburst, and cut it on some retired Babycakes paper. I picked my colors based on the Scrapping Buckeye Babes January Color Challenge: Pacifica, Lagoon, Canary, Cocoa and White Daisy.


For the second page, I used four 3x3 square photos and one 6x4 vertical photo. 


In order to create a more cohesive look, I carried the vellum, pennant banner, and dovetail banner through both pages.


To embellish the pages, I used pennant cuts from Art Philosophy stamped with Bodacious Banners and some flourishes to mimic the water spray. The wave and title are cut from Cricut Artbooking.


By far, this is my favorite layout I have ever completed! I think it is super colorful and adorable! I had a lot of fun working on it!

Happy Scrapping, My Artsy Friends!

Wednesday, January 7, 2015

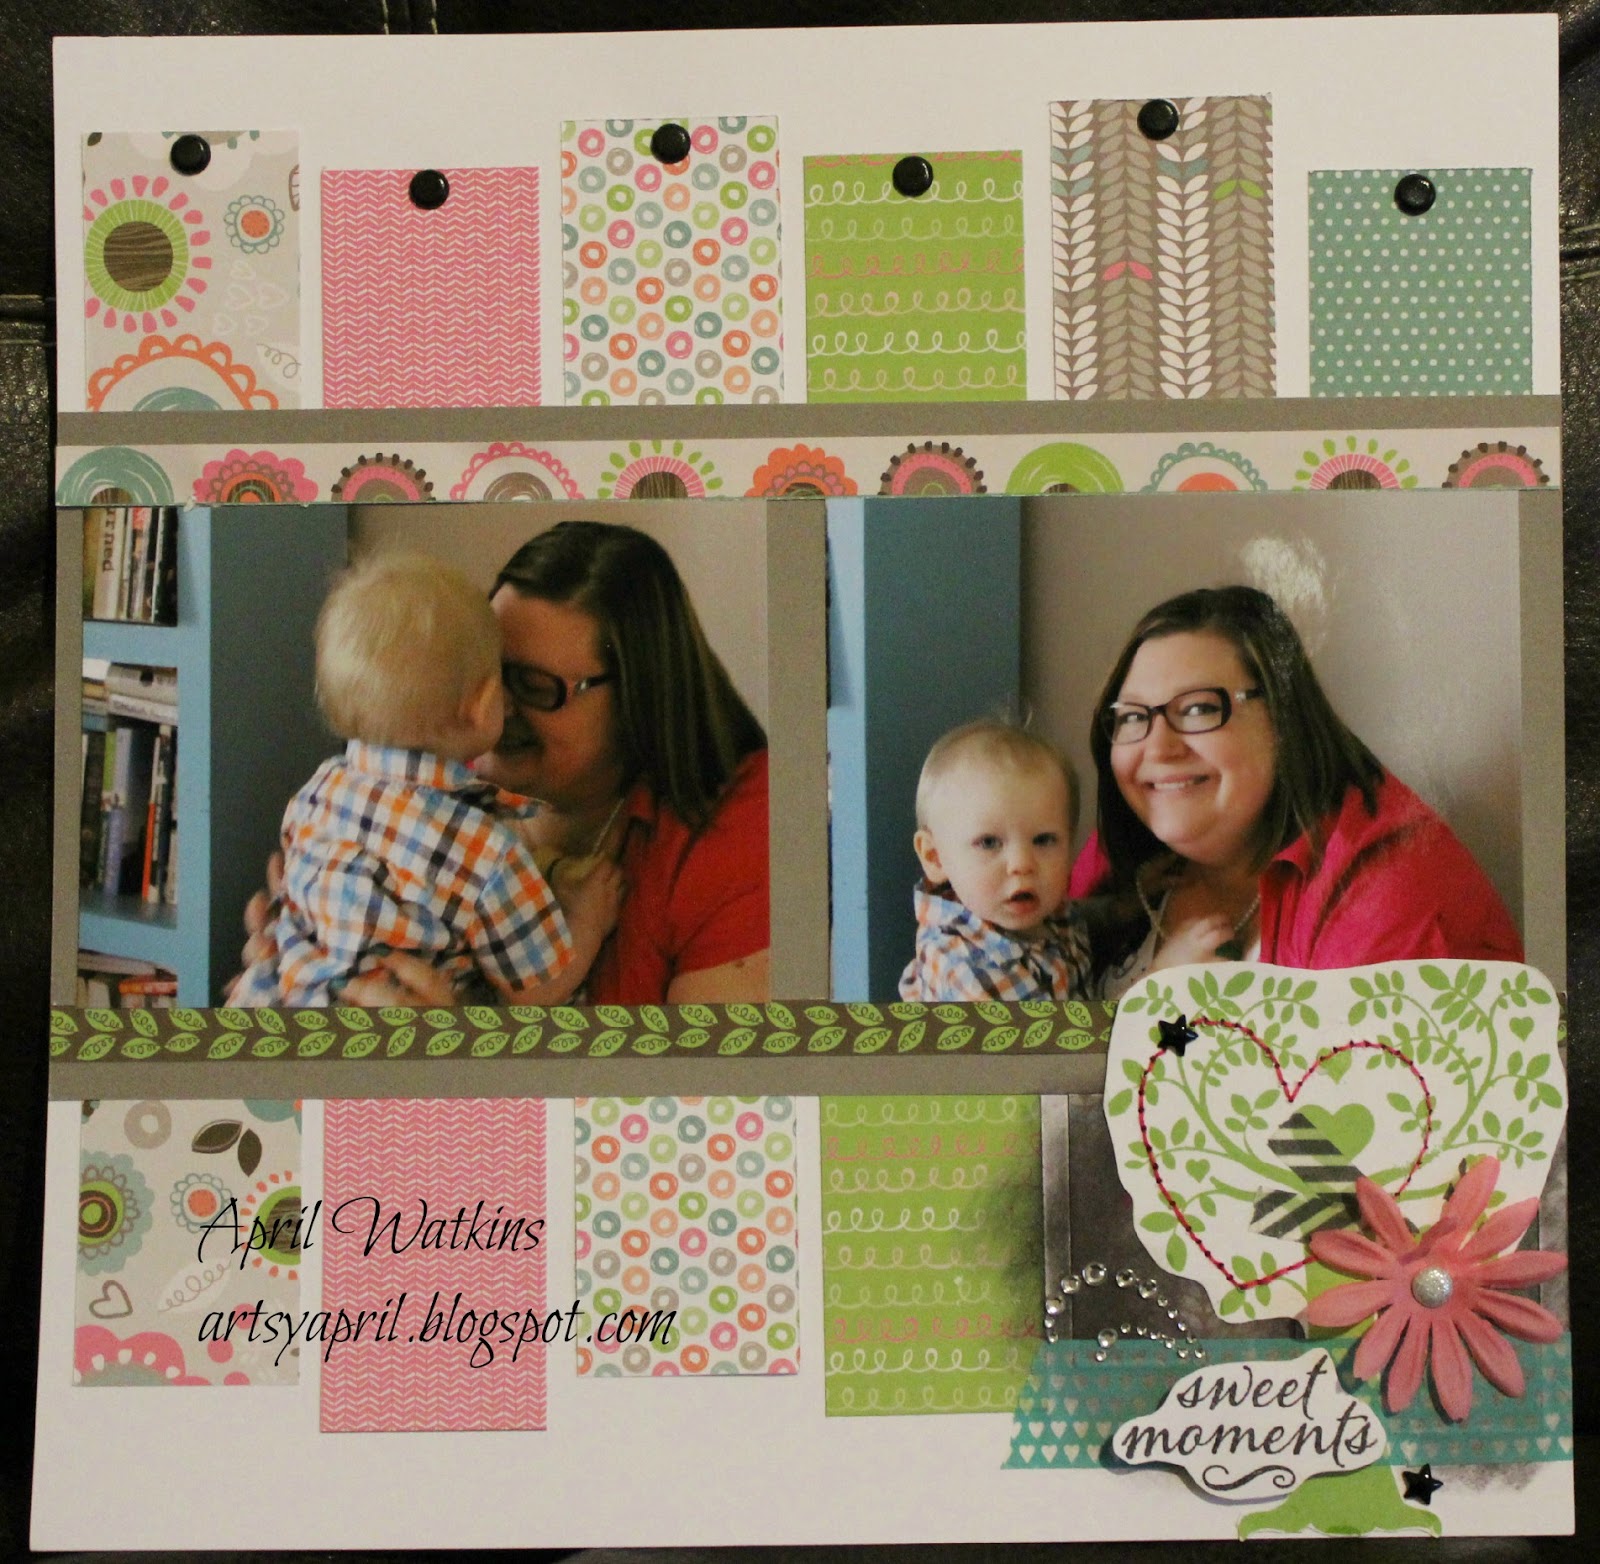
Pinspiration: Mother's Day Layout

Good morning, everyone! Welcome to Day Three of my Pinspirations blog series. I am relatively new to Pinterest. Last week was the first time I ever made something I had pinned. I mostly use Pinterest to post artwork from this blog, but I wanted to try creating artwork inspired by other's pins. All of the original pins for this series can be found on my scrapbook pages ideas board. These are all single page designs that I have turned into double page spreads using CTMH products.

For today's spread I took a single page Spring inspired layout to make a double page Mother's Day spread.


I really liked the way this layout featured several B&T papers to create a simple background. I absolutely love the retired Lollydoodle paper pack, but I haven't had an opportunity to use it much. I have a son, so most of my scrapbooks of late have been using color schemes that avoid pinks. But since this was MY day, and pink is my favorite color this was the perfect opportunity! 


For the second page of the layout, I decided to carry that same design through, but with two smaller pictures. And, I used the zip ties to frame the photos.


Since the design carries through both pages, the bold B&T background does not distract from the photos in the forefront.


To embellish the pages, I created a cluster embellishment on the right page using stamping, stitching, washi tape, and some items from my stash.


In the end, this was a great way to use up some super girly paper I've had laying around for awhile now, and use it to create something to showcase my second Mother's Day!

Happy Scrapping, My Artsy Friends!