Thursday, May 28, 2015

Thanksgiving Spread with Limited Stamping

Close to My Heart has so many awesome stamps that it is really easy to forget our other great coordinating products. I created this Thanksgiving spread with very limited stamping. Instead of stamping accents, I used the Pathfinding Complements, which are coordinating chipboard shapes. If you are new to papercrafting, these shapes are perfect for you, because they are relatively inexpensive, and they really add texture and dimension to the pages. If you have reached expert status, these shapes will still complement your pages beautifully!


I actually found a similar design to this on Pinterest, but it was created using digital scrapbooking, which I do not do, so I had to figure out the dimensions of the design by myself.


For the left page, I used the chipboard to title, accent, and journal the page.


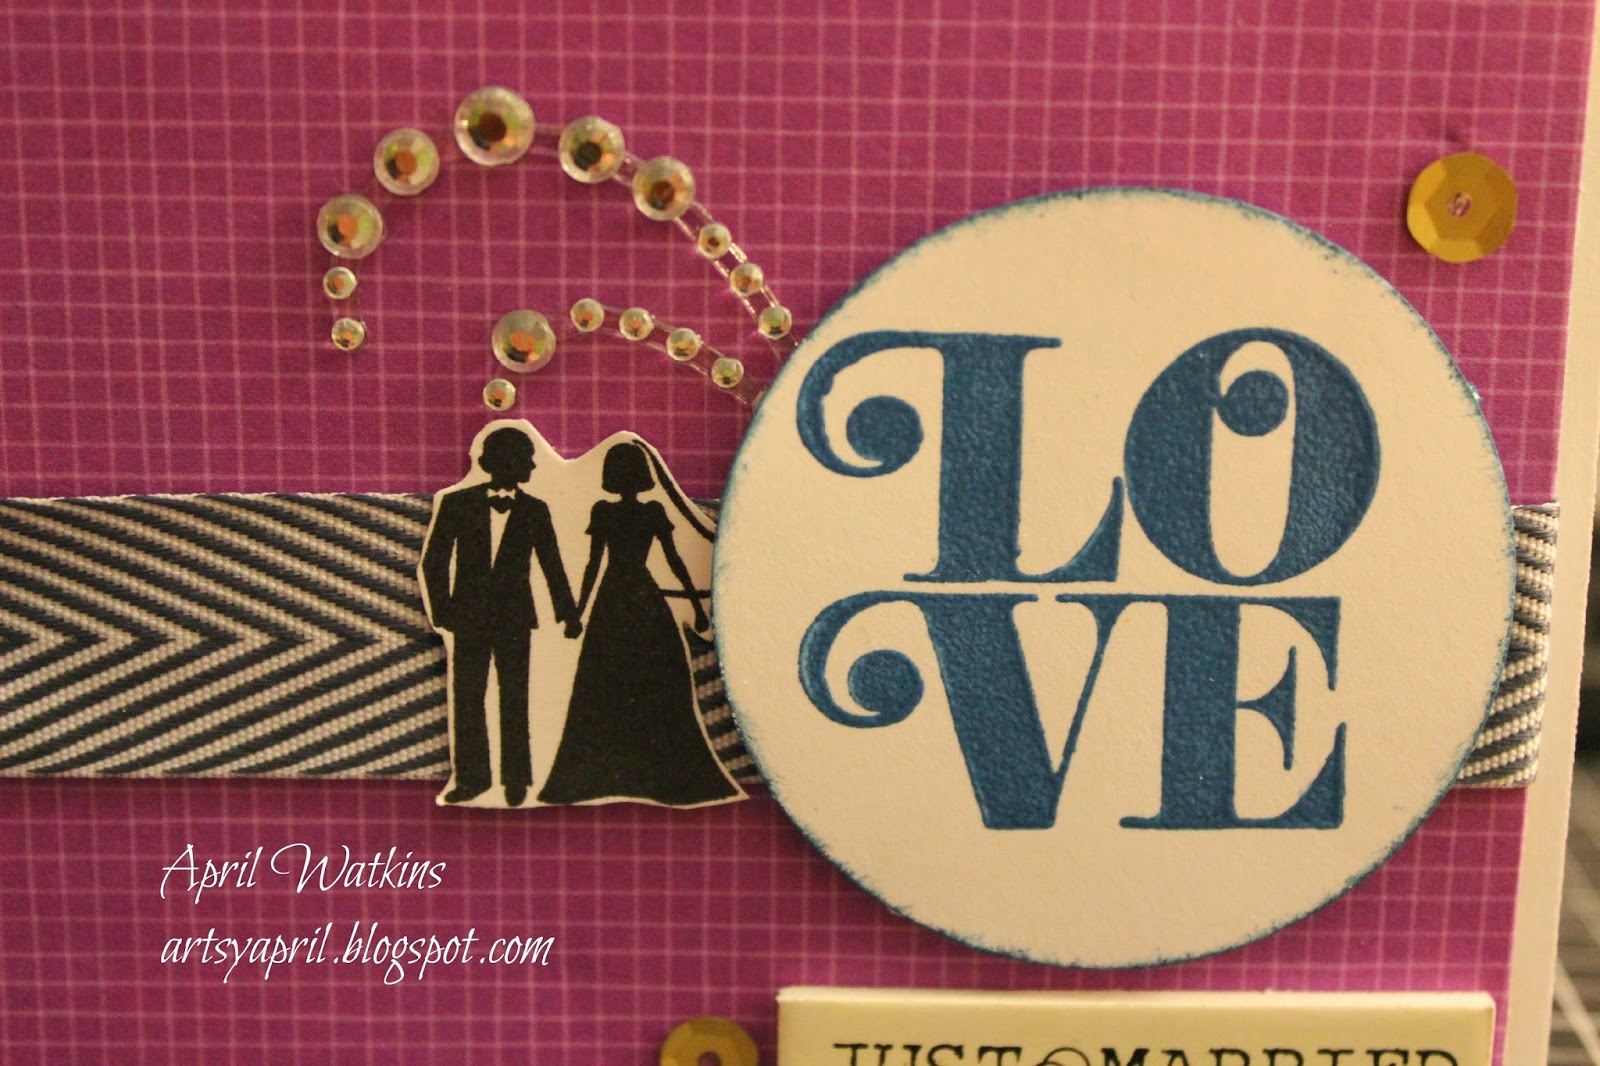
I added some stamping in the top right corner to accent the background of the page. The stamping here is absolutely unnecessary. If you're a regular follower of my blog, you know that I really love layers and texture, so for me this sort of background is typical.


For the right page, I kept things really simple by adding large photos and a 2in strip of the B&T paper. If you want to recreate this layout, the strips on the left are 10in wide, and they are 2in wide on the right.


Again on the right page, I added the background stamping, and created a small cluster with the only other stamping on this page. This stamping could totally be swapped out for more chipboard. (Side note: how handsome is my husband!!!)


I also created a chipboard cluster under the 4x4 photo. In order to put them behind the photo, I used foam tape to pop the photo up. You'll notice I have some glue leakage here. I discovered after I created this cluster that the regular ATG tape will stick these pieces down just fine. 


Ingredients:
Happy Scrapping, My Artsy Friends!

Wednesday, May 27, 2015

Tutti Frutti Birthday

This week's Heart 2 Heart Challenge is Tutti Frutti. I'm pretty sure the challenge was inspired by the adorable Taste of Summer Paper Pack that is available until the end of the month. I absolutely love this paper pack! I love how the paper is busy on one side, and a more relaxed pattern on the other. The colors are really vibrant and fun.


So, for this challenge I created a spread for my niece's 1st birthday. The party was really girly, full of tutus and lots of pink!


Basically, I created a design by staggering strips of paper in various sizes.


Then, for the left page, I used a photo frame from the Artbooking cartridge to highlight one photo. I added a foam number 1 to pop up her age.


And, I created a cluster embellishment using more Artbooking cuts, a Picture My Life card that I stamped on, some stenciling, and a Stickles circle.


For the right page, I used a border from Artbooking to highlight her age again.


Finally, I added this birthday hippo and another Stickles circle. The hippo is colored using blending markers. 


Ingredients:

Happy Scrapping, My Artsy Friends!

Sunday, May 24, 2015

Adorable Baby Girl Card

I was asked by a coworker of mine to make a card for her friend who is having a baby girl. The specifications were "super girly". I made a typical size card with pops of pink!


I used Hollyhock to mat the white background, which I embossed using the CTMH Hearts embossing folder. I also added Stickles dots to give a pop of color.


For the clothesline, I used the Baby Steps Cricut cartridge. There were a lot of tiny pieces to cut, but I think it paid off in the end.

Ingredients:
Happy Scrapping, My Artsy Friends!

Friday, May 22, 2015

Nontraditional Style Wedding Card

My super fun cousin is getting married next weekend. In an earlier post, I showed you the mini album I made her as a gift. Today I am showing you her card. My cousin's colors are a bright purple and blue. She has a really fun personality, so I wanted to make her a nontraditional, funky wedding card.


I used the Taste of Summer paper pack to create the background. This paper pack is only available until the end of this month! And, I promise it is super adorable! 


To embellish the card, I created a cluster and kept the card CASe.


For the inside, I stamped a simple sentiment, and left lots of room to write.


I am entering this card in this week's Heart 2 Heart Challenge: "Extra! Extra! Read All About It!" You can find more info about H2H by visiting their website here.

Ingredients:
Happy Scrapping, My Artsy Friends!

Thursday, May 21, 2015

CAS Card using Dizzy Circles

Today I have another Pinspiration card to share with you. The original for this card can be found from my Card Ideas Board on Pinterest. This month, my card swap's challenge was to choose a card on Pinterest and recreate it. I am not typically good at creating CAS designs. I tend to go for busy, layered looks, but I absolutely fell in love with this card.


I recreated this card using the Dizzy Circles stamp set, clear sparkles, and some Flaxen twine. Here is the result:


The card is an all occasions with a sentiment that reads, "Happy hello for you." The cards were pretty easy to make, but I am really happy with the result.

Ingredients:
Happy Scrapping, My Artsy Friends!

Wednesday, May 13, 2015

Game On: Bowling Party

Hello again! This week's Heart 2 Heart Challenge is Game On! For this challenge, I decided to scrapbook my brother's 21st birthday party, which was at a bowling alley. The pictures from the evening were quite dark, because bowling alleys are dark in general. So, I tried to balance the dark photos with bright paper that matched the colors of our balls. I used the retired Year Noted paper pack, and a big mix of stamps.


I created my own B&T using the Confetti Wishes Workshop on the Go stamp set. I was trying to mimic the bowling balls again. The original sketch for this layout was from Make It From the Heart Vol. 1, but I have made a significant number of changes, so really only the sizes of the photos are the same.


For the left page, I added three different embellishment sections to balance the negative space of the design. For the first spot, I cut a shoe from the Boys Will Be Boys Cricut cartridge using the same paper pack. And, I used a Heidi Swapp stencil to create the bubble pattern.


For the next one, I used the Documenting Moments stamp set to create a short journaling space.


And, of course, I had to have a banner in the corner. I am seriously obsessed with banners!


For the right page, I mirrored the left page, and added a photo column of 3x3 photos.


I created another cluster embellishment using a retired Hopscotch PML card, another shoe, and the Mini Calendar stamp. And, notice the chevron punch used on both pages. Love it!


The end result was a whimsical spread that captures the night well.

Ingredients:

Happy Scrapping, My Artsy Friends!

Tuesday, May 12, 2015

Wedding Mini Album

Hey there, papercrafters! I am actually going to share a video with you today, instead of photos. I created a 6x6 mini album for my cousin's wedding gift. I used a video serious from My Sister Scrapper. You can find that series here.


For my 6x6 album, I used CTMH Colonial White for the base of the cover and the pages. The rest of the paper is form Paper House's "I Do" paper pack. The paper and embellishments were all purchased at Hobby Lobby. Watch the video below to see all of the inside pages, and the hidden hinge system. Enjoy


Happy Scrapping, My Artsy Friends!

Wednesday, May 6, 2015

Mother's Day Card: Stamping on Vellum

Hello, crafters! I am sure you're all gearing up for Mother's Day this weekend. I have been so busy that I completely flaked on my cardmaking this year. So, I decided that I would make the same card for my mother and mother-in-law just to get it done quicker. I combined this task with two challenges: my uplines' color challenge (gypsy, crystal blue, and sorbet), and this week's Heart 2 Heart challenge: Mum's the Word. Find more info about Heart 2 Heart Challenges here.


So, for this card I tried something new for me: stamping on vellum. I used white embossing powder to really make it pop.


Underneath the vellum, I created my own B&T using flowers from the Shower Flowers stamp set.


I created both cards in about 45 mins. Not bad for a last minute attempt.


Happy Scrapping, My Artsy Friends!

Friday, May 1, 2015

It's Gonna Be May: National Scrapbooking Campaign

Welcome to May, scrappers! This month is National Scrapbooking Month! To celebrate, Close to My Heart has an exclusive paper pack and stamp set called Taste of the Summer! In addition, you can pick up the May Stamp of the Month for $5 with a $50 purchase.


I decided to combine the Taste of Summer Paper Pack and the May SOTM to create another card Pinspiration! You can view all of my Pinspirations by following me here.


The original design is a perfect example of a CASe card. I used Pear cardstock to mat the design. And, the peek through B&T is from the Taste of Summer pack.


I messed up this card a bit and folded one of the flaps too short, but I'm keeping it imperfect for my first attempt.


The sentiment and pennant on the card is from the May SOTM. I used a retired font stamp to create the "hi" part.


The triangle design is also using the May SOTM.


I plan to send this card to a friend I haven't seen in awhile. I think the colors are quite uplifting and fun!

Ingredients:
Happy Scrapping, My Artsy Friends!