Showing posts with label Cricut Art Philosophy. Show all posts

Saturday, November 19, 2016

Thanksgiving Thank You Card

This year for Thanksgiving, we are going to visit my husband's grandparents. I wanted to make a Thank You card to thank them for feeding us and housing us for a few days. Here's what I came up with.


I used a Colonial White card base, and layered Kraft paper and a retired CTMH fall, B&T paper. I also added some bronze shimmer trim to create a dividing line on the card. For the sentiment, I stamped Cocoa ink on Kraft paper using the retired Thanksgiving Wreath stamp set.


For the pumpkin and leaves, I used the retired Thankful Heart stamp set. I stamped all of the items using pigment ink and then heat embossed to give them texture. I then hand colored them all with markers. Finally, I took a quilling tool to curl the edges of the leaves.

I am entering this card in Heart 2 Heart's Get Your Kraft On Challenge.

Happy Scrapping, My Artsy Friends!

Sunday, July 31, 2016

Santa Magic Layout

This morning, my husband pushed me into my craftroom and said he would take care of our boys. It has been a glorious morning! I used my time to create a single page layout of my son's breakfast with Santa last year.


I used the retired White Pines WOTG to create this layout. I really love this paper, and wanted to show all of it. I also really loved the complements for this set, so I used it to create three different clusters. For the top left corner, I also used the retired Twinkle and Santa Claus stamp sets.


I am entering this layout in Heart 2 Heart Challenges Magical Challenge. There is nothing more magical than Santa!

All of these products are retired. To view current products, visit my website.

Happy Scrapping, My Artsy Friends!

Saturday, November 28, 2015

Mommy and Me Single Page Layout

Every year for Mother's Day, my son and I take a picture. It's amazing to watch him grow that one special day a year. We've had three Mother's Days together so far, and there is absolutely nothing I am more grateful for them him. He is my whole world. For Mother's Day 2015, I created this single page layout using the Zoe paper pack to showcase our picture.


To embellish the page, I cut a shape from the Art Philosophy Cricut cartridge to create a layers. Then, I added a sticker from the Complements pack. I love how well the Complements can bring a page to life with ease.


I also cut this fun heart overlay using the newest CTMH Cricut cartridge Artistry. I really love this cartridge, because it has an adorable font, fun overlays, and some seriously on trend designs.


The final page element was a retired Picture My Life card that I fussy cut, and a & symbol from a Teresa Collins punch.


I had thought about adding journaling on the PML card, but I thought this was so much cuter. Overall, the page is simple, a tad girly (which is I try to get away with when I can), and full of love. I am entering this layout in Heart 2 Heart Give Thanks Challenge and Between the Folds Anything Goes Challenge.

Ingredients:
Happy Scrapping, My Artsy Friends!

Monday, November 16, 2015

Six Pages in One

In case you haven't noticed, I am OBSESSED with flip-flaps! I love that I can use them to add more pictures to a layout, so that I don't have several pages for one event. I especially love that the large assortment can be used to create additional pages attached to an original layout. Essentially, you can create six pages in a single layout! Plus, the layouts become interactive, which my two-year old son LOVES!


In the past, when I have created these full spreads using flip flaps, I have used a pattern from one of CTMH's how-to books. But, this time, all of the pages were original designs, which was super time consuming, but I am really happy about the end result. 


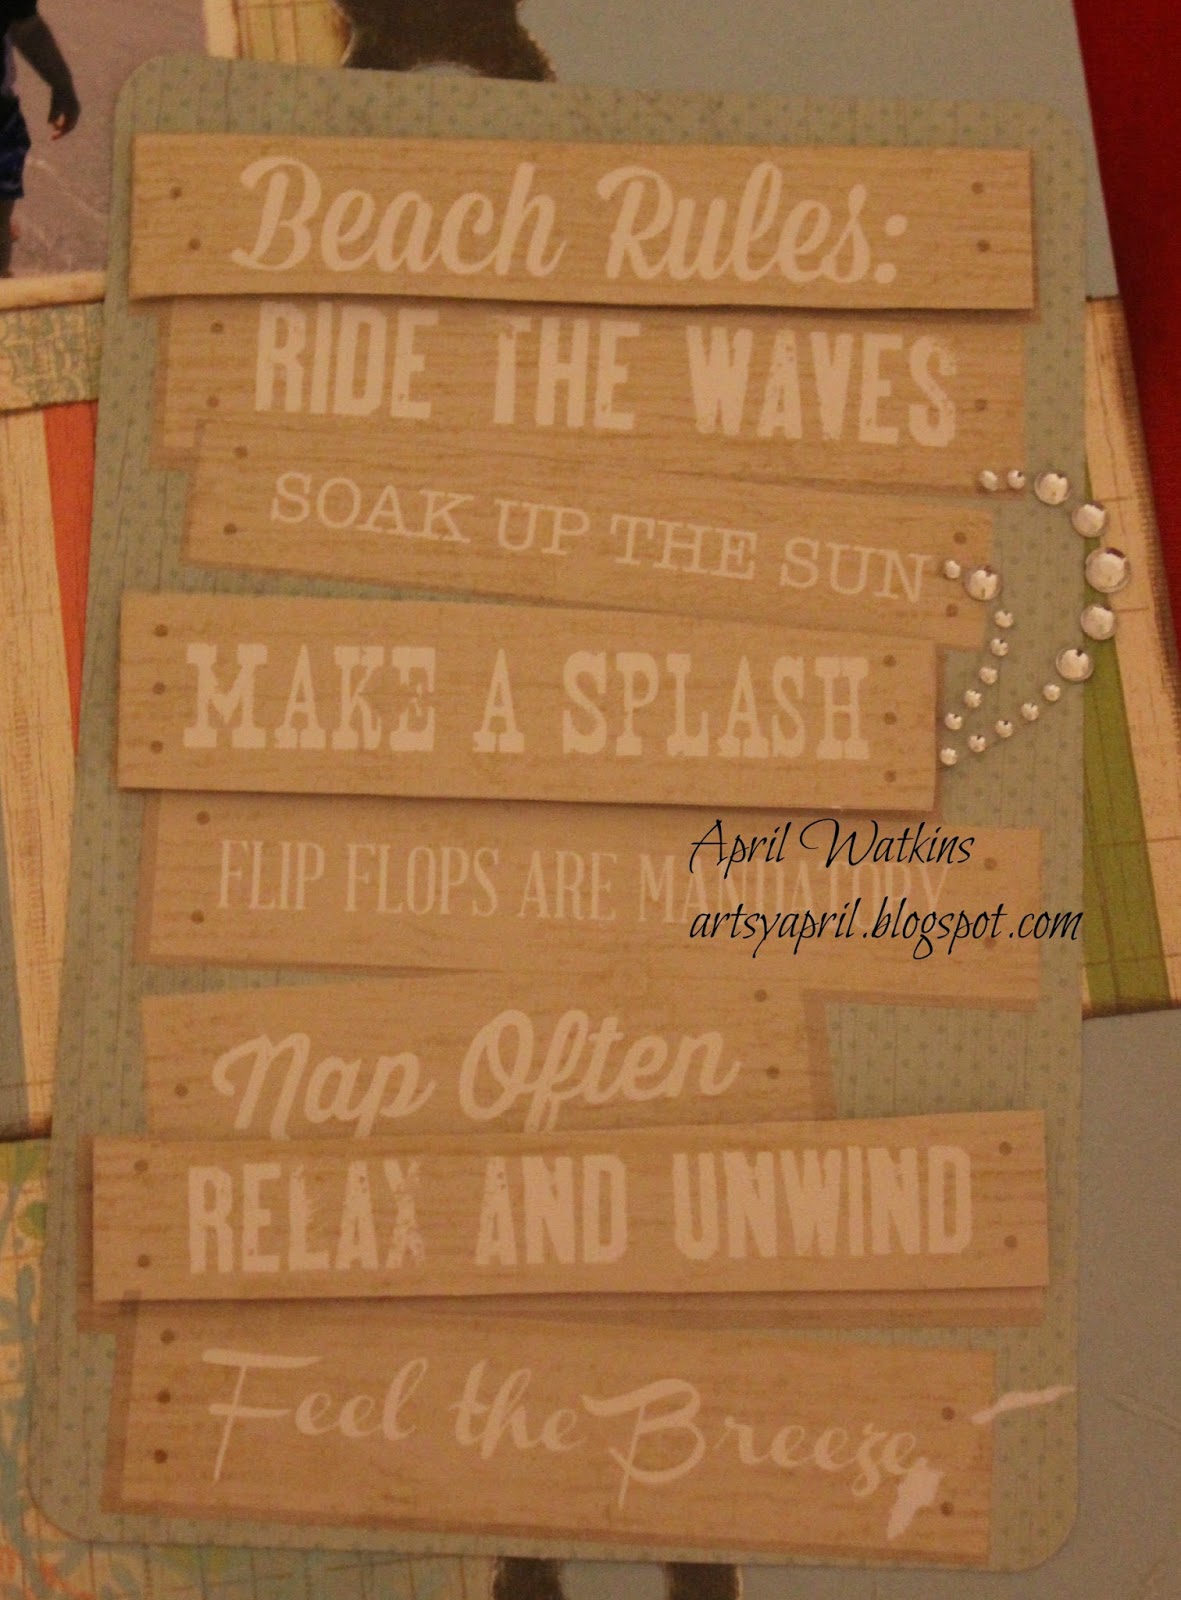
For the left page, I created my own B&T using stamping and accented with a Picture My Life card and stickers. Although the cardstock is CTMH, the paper pack I used for this spread was from Bella Carta.


This is the inside of the left page. I used random stamping and PML cards here again. The paper gears on the right side were cut using Artiste. 


For the right page, I used some stenciling for the background on one side. I also colored some stamped images of a robot family.


For the inside of the right page, I used more random stamping, and created a banner using stamping and the Art Philosophy cartridge. In the middle, I highlighted the number 2, because these pages are for my son's 2nd birthday trip to the Science Museum. 

And there you have it! Six pages in one layout! I am entering this layout in Heart 2 Heart's Through the Window challenge.

Ingredients:

Happy Scrapping, My Artsy Friends!

Saturday, October 31, 2015

Halloween Costumes Using CTMH Cricut Cartridges

Happy Halloween everyone! I don't know about y'all, but my October has come and gone faster than I was able to keep up. Today, I am going to show you something different. I made my son's and my Halloween costumes this year using CTMH products!


My son was a Rocket Ship, which I made using white cardstock, a cardboard box, plastic cups, streamers, and Modge Podge. I used the Cricut Art Philosophy cartridge to cut the USA letters on black cardstock. The black on the nose of the rocket is black duct tape.


For my costume, I decided to be the moon. I made a tutu from a bunch of tule, and then made my headband by cutting white cardstock into a moon shape using the CTMH Artistry cartridge. I actually had to do some edits in craftroom, to delete the stars from the moon shape. Then, I covered the whole thing in foil to make it shine.


I am entering these projects in two different Heart 2 Heart Challenges: Cricut and Boo. I am seriously behind, because we have had family visiting all month, but I actually finished our costumes the first week on the month!

Happy Scrapping, My Artsy Friends!

Wednesday, September 9, 2015

Artistry Thank You Card

Morning, Scrappers! Here's a quick post to show you a thank you card I made for one of my hostesses. I used the new Artistry Cricut cartridge and the new Zoe paper pack. The tag was cut from Cricut Art Philosophy.


Ingredients:

Happy Scrapping, My Artsy Friends!

Tuesday, September 8, 2015

Christmas Cards Preview

Hey there, scrappers! For my monthly card swap this month, we were to create something using the new White Pines paper pack. I'm obsessed with this paper! It is my favorite Christmas/ Winter paper CTMH has ever had! We also have some really adorable stamp sets that match the feel of the paper perfectly.


I used three different stamp sets on the front of the card. The tree is from the White Pines Workshop on the Go. The sentiment is from Season's Greetings, which is actually a really cute penguin stamp set. And, the fox is from Miracle of Christmas, which features several woodland creatures. 


To create the fox, I first stamped the image using Black pigment ink, and then heat embossed with clear embossing powder. Embossing the image first helps keep the marker coloring from leaking too much, and it adds texture to the card.


For the inside of the card, I used the rest of the sentiment from the Season's Greetings stamp set. Both sentiments are included on a single stamp, but I broke the text up, but bending the text around a stamping block. 


Ingredients:
Happy Scrapping, My Artsy Friends!

Monday, July 27, 2015

Back to Basics: Pizza Party Layout

Although I really enjoy making really intricate pages, sometimes I like to go back to basics. I really love Close to My Heart's Make It From the Heart guides. The layouts are a great springboard for beginning scrappers, but they are also great for when you want to bust out a quick, adorable layout.


My son had the chance to make pizzas with our early childhood PTA group. I used the retired Taste of Summer paper pack to create this spread.


Since, I used a very simple layout, I embellished with a maker colored little boy stamp by Cling Stamps. I believe it's called Toby. The balloon stamp and die is from Stampin' Up.


I am entering this layout in Heart 2 Heart Challenges this week. The theme is Life is Good. And, what is better than pizza?

Ingredients:

Happy Scrapping, My Artsy Friends!

Wednesday, July 22, 2015

Backseat Driving with Mama

This week's Heart 2 Heart Challenges is Life Is a Highway. I created a single page layout of my son and me in the car driving. (We were stopped on the side of the road when I took the picture.)


I used a simple color palette of Black, White Daisy, Indian Corn Blue, and Outdoor Denim. The chevron paper is from the Paper Fundamentals Enchantment pack. This design pattern is retiring soon!


I used Art Philosophy to cut the banner pieces. My son is all about "Ready, Set, Go!" He says it all of the time!


I added these chevron enamel pieces with an ombre effect at the bottom to add more color to the page. These are also retiring soon!


This chipboard accent is from a Bo Bunny set that I had in my stash. Since the journaling on this page was about my son switching to front facing, I thought this fit nicely.


Ingredients:
Happy Scrapping, My Artsy Friends!

Monday, July 13, 2015

Life's a Beach

This week's Heart 2 Heart Challenge is Life is a Beach. I used this as an opportunity to scrapbook our trip to Clearwater Beach last year.


I absolutely love the Seaside WOTG. I will really miss this set when it retires next month! 


I used some cuts from the Life's a Beach Cricut cartridge to create waves and the brown border.


I also used the Seaside Picture My Life cards to embellish the page. And, yes, those are real seashells from the beach.


I added an extra layer to the page by using a background stamp that is included with the WOTG. 


On the right page, I continued the same Cricut cuts to balance the pages.


To add dimension to the page, I cut up a PML card and added foam tape behind certain parts. (Thanks to my friend Adrienne for letting me scraplift this!)


I also made this little beach sign that I added hemp string to, so that it looks like you could hang it.

Ingredients:

Happy Scrapping, My Artsy Friends!

Saturday, July 11, 2015

Life Is *NOT* a Picinc

Hello there, readers! This week's Heart to Heart Challenge is Life Is a Picnic. I thought a lot about this challenge, and decided to turn this theme on it's head and document something that proves life isn't always a picnic.

In March, shortly before my son turned two he had his first scary accident. He was jumping on our sectional where the two pieces meet when he fell and hit the corner with his eye. It resulted in a black eye that swelled and darkened quickly. It was pretty scary, but he was back to playing in no time. He's a tough cookie!


The perfect paper pack for this was the retired Later Sk8er, which is a personal favorite of mine. I accented the page with Later Sk8er Picture My Life cards (RETIRING SOON!).


I also used the July Stamp of the Month Life is Wonderful to create the title for the page. The sticker letters are from the My Crush Holiday Happenings Assortment. 


And, as typical for my pages, I used All the Details to create a fun banner.


Ingredients:
Happy Scrapping, My Artsy Friends!

Monday, June 22, 2015

June H2H Guest Designer: Let Them Eat Cake

Hello there, Artsy Friends! I am truly honored to be Heart 2 Heart Challenges Guest Designer for the month of June 2015! Heart 2 Heart is a challenge blog for projects that feature Close to My Heart products. A new project is posted every Monday, and you have the rest of the month to complete the projects.

Welcome to my last design as a Guest Designer for H2H. This week's theme is Let Them Eat Cake. In May, my son and I decorated cookies with the Strongsville Early Childhood PTA. My son is two, so frosting cookies was more about eating the sugary frosting than actually completing the task.


For the left page, I drew inspiration from Pinterest. I used the Taste of Summer May campaign paper to create the whimsical look.


I love the colors of this paper. They're really bright and fun. Perfect for this design.


To embellish, I used a retired stamp set that is all about cupcakes. I know we were making cookies, but I felt these would still add to the page.


For the right page, I layered some more of the paper, and added four 2x3 pictures.


The splat on both pages is a Tim Holtz stencil. I used Gypsy ink sponged on using a finger dauber.


Ingredients:

Happy Scrapping, My Artsy Friends! And, thanks for joining me this month as H2H's Guest Designer! It has been such a fun experience!

Monday, June 1, 2015

June H2H Guest Designer: Warm vs. Cold

Hello there, Artsy Friends! I am truly honored to be Heart 2 Heart Challenges Guest Designer for the month of June 2015! Heart 2 Heart is a challenge blog for projects that feature Close to My Heart products. A new project is posted every Monday, and you have the rest of the month to complete the projects.

The first June Challenge is a Warm vs. Cool color challenge. I love mixing rich red colors with cooler blues and grays. This pairs perfectly with the Snowhaven paper pack.


For this spread, I tried a different technique by embossing a stenciled pattern on vellum and the paper to mimic snowfall. I used a Heidi Swapp stencil called "Confetti" and white embossing pattern to create the look. Then I layered a cluster on top of the pattern.


To embellish the page, I used the coordinating chipboard, which really added some fun dimensions to the page.


Ingredients:
Happy Scrapping, My Artsy Friends!

Wednesday, May 13, 2015

Game On: Bowling Party

Hello again! This week's Heart 2 Heart Challenge is Game On! For this challenge, I decided to scrapbook my brother's 21st birthday party, which was at a bowling alley. The pictures from the evening were quite dark, because bowling alleys are dark in general. So, I tried to balance the dark photos with bright paper that matched the colors of our balls. I used the retired Year Noted paper pack, and a big mix of stamps.


I created my own B&T using the Confetti Wishes Workshop on the Go stamp set. I was trying to mimic the bowling balls again. The original sketch for this layout was from Make It From the Heart Vol. 1, but I have made a significant number of changes, so really only the sizes of the photos are the same.


For the left page, I added three different embellishment sections to balance the negative space of the design. For the first spot, I cut a shoe from the Boys Will Be Boys Cricut cartridge using the same paper pack. And, I used a Heidi Swapp stencil to create the bubble pattern.


For the next one, I used the Documenting Moments stamp set to create a short journaling space.


And, of course, I had to have a banner in the corner. I am seriously obsessed with banners!


For the right page, I mirrored the left page, and added a photo column of 3x3 photos.


I created another cluster embellishment using a retired Hopscotch PML card, another shoe, and the Mini Calendar stamp. And, notice the chevron punch used on both pages. Love it!


The end result was a whimsical spread that captures the night well.

Ingredients:

Happy Scrapping, My Artsy Friends!