Monday, December 19, 2016

Santa Cards Using Sketch

My oldest son is in preschool this year. I wanted to make his teachers cards that were a little more kid friendly, since they are part of a gift from a 3yr old. I used a sketch from Heart 2 Heart Challenges to create a fun Santa card.


I created this design using the retired White Pines paper pack and a retired Santa stamp set. I added green shimmer trim and used the shimmer brush on the snowflake to add some sparkle.

For more information on Heart 2 Heart Challenges click here.

Happy scrapping, my artsy friends!

Sunday, December 18, 2016

Oh Deer Scrapbook Layout

Last year, we used our traditional family Christmas pictures to announce our pregnancy with baby #2. I used the Oh Deer Workshop Your Way kit to scrapbook the day.


All of the photos are 4x6 in size, and there is certainly room to add more, if you have more photos.


For the left page, I added the page title "JOY" using the Complements. I also added an embellishment cluster with a retired stamp, and more Compliments.


For the right page, I added a similar embellishment cluster along with some journaling. The journaling card is part of the Oh Deer paper pack.


Happy scrapping, my artsy friends!

Oh Deer Christmas Cards

For Christmas cards this year, I am really behind!!! Having a second baby can do that, I suppose. I decided to go with a simple design, but with big impact. I used the Oh Deer paper pack, Complements, and Accessories, and added some bling with shimmer trim and retired Paper Fundamentals Complements.I skipped stamping this year, in order to finish quickly. I had to make 12 cards, and here's what I came up.


Unfortunately, I have some bad news. At the end of the year, I will no longer be an active Consultant with Close to My Heart. I will still be maintaining this blog to offer tips and tricks, display my artwork, and offer instructions/ cut guides. I hope you continue to join me!

Happy scrapping, my artsy friends!

Saturday, November 19, 2016

Thanksgiving Thank You Card

This year for Thanksgiving, we are going to visit my husband's grandparents. I wanted to make a Thank You card to thank them for feeding us and housing us for a few days. Here's what I came up with.


I used a Colonial White card base, and layered Kraft paper and a retired CTMH fall, B&T paper. I also added some bronze shimmer trim to create a dividing line on the card. For the sentiment, I stamped Cocoa ink on Kraft paper using the retired Thanksgiving Wreath stamp set.


For the pumpkin and leaves, I used the retired Thankful Heart stamp set. I stamped all of the items using pigment ink and then heat embossed to give them texture. I then hand colored them all with markers. Finally, I took a quilling tool to curl the edges of the leaves.

I am entering this card in Heart 2 Heart's Get Your Kraft On Challenge.

Happy Scrapping, My Artsy Friends!

Birthday Banner, Bag, and Card

Besides selling CTMH products, I do commissioned work as well. I was commissioned to make a birthday banner, bag, and card for a 2yr old girl's birthday. The theme is sea creatures and mermaids, and the color scheme is purple and teal.


The banner is made with three separate pieces to offer variety in decorating.


The gift bag is made with two sheets of Paper Fundamentals in Gypsy (now retired).


The card is a very simple birthday cake card that I brought in sea creatures to tie it altogether.

I sell this entire set for $30 + shipping. If you are interested in purchasing a birthday kit, please email me at watkinsaprilm@yahoo.com. I accept payment through PayPal only.

Happy Scrapping, My Artsy Friends!

Thursday, November 10, 2016

Superhero Birthday Card

My oldest son is in preschool this year. He just got invited to his first birthday party for a class friend! The boy will be four and LOVES superheroes. It just so happens that my son had a superhero birthday party for his 3rd birthday, and I already had the perfect stamp to use for his friend's card!


I used a CTMH White Daisy card base and the blue chevron mat is the retired Indian Blue Paper Fundamentals. The circles are several different paper brands from the local craft store that I cut using a Sizzix circle set. The superhero boy and sentiment are from My Favorite Things Super Boy set. You can't really tell from this photo, but the lightning bolt and sentiment have been highlighted with the CTMH Shimmer Brush. This brush adds just a flash of light and glitter to a specific area of your designs.


For the inside of the card I used more of the red polka dot paper to mat some White Daisy cardstock. I wanted to leave the inside blank, so my son could draw his friend a picture.


Happy Scrapping, My Artsy Friends!

Monday, November 7, 2016

Christmas Lights Layout

Every year, my town has a beautiful Christmas lights display on the square. My son absolutely loves walking through the light tunnels. Last year, the colors were perfect for an old Doodle Bug paper pack I had in my stash. The Doodle Bug paper pack is called Winter Friends, and I have no idea how old it is. I bought it a few years ago, but I believe it was already retired at that point.


So, for this layout, I used the Cricut Create a Critter 2 cartridge to cut out these adorable penguins, polar bear.


For the both pages, I also added a fun light string stamped design using a retired Close to My Heart Stamp of the Month. Unfortunately, not as much ended up showing as I had originally intended.


This little twinkle was from the same stamp set.


Finally, I added some funky Christmas trees from the Cozy Christmas Thin Cuts Bundle. This is a stamp set that comes with the Thin Cuts! The sentiment is also from this stamp set. And, the Enamel and Glitter Duos Blue Dots also matched this paper pack perfectly!


I am entering this layout in the Heart 2 Heart Holiday Challenge, which asks for holiday designs without red or green!

Close to My Heart Ingredients:
  • Glitter Duos Blue Dots
  • Cozy Christmas Thin Cuts Bundle
  • White Daisy Cardstock
  • Black Cardstock
  • Slate Cardstock
  • Peacock Ink Pad
Happy Scrapping, My Artsy Friends!

Tuesday, September 6, 2016

Autumn Wishes Card

Happy National Stamping Month again! Each month I design a simple card for my Home Gatherings. When I also have online gatherings, I create a video tutorial to share with the guests. For September, I created a simple card using the Autumn Wishes stamp set and Whimsy Fundamentals.


If you are interested in viewing the tutorial and playing along, you can view it here, or below.


If you would like to host your own gathering, please contact me through my website, or by commenting below. 

Measurements: 
  • Standard size card base
  • Chocolate Cardstock 4x5.25in
  • Canary Whimsy Fundamentals 3.75x5in
  • Pumpkin cut using Artbooking at 2in Real Dial Size
  • Circle cut using Artbooking at 1in Real Dial Size

Happy Scrapping, My Artsy Friends!

Monday, September 5, 2016

Hawiian Birthday Card

Hello readers! September is National Stamping Month! CTMH is celebrating by offering a really adorable mini card set. You can order yours here.


I am kicking off my celebration with a Hawaiian inspired birthday card for a friend.


For the base of this card, I used a retired paper fundamentals sheet in lagoon. The pineapple was cut from the Artistry Cricut cartridge. And, the flowers are stamps from the retired Blossoming Friendship set. I used the second generation stamping method for to create the two tone look of the flowers. 

I am entering the card in the Heart 2 Heart stamping challenge.

Happy Scrapping, My Artsy Friends!

Friday, August 5, 2016

All You Need Is Love

Recently, I purchased a mini stamp with the sentiment "All You Need Is Love Love Is All You Need". I specifically purchased this stamp to use for my 5th Anniversary page. In the end, this is what I came up with.


I used the retired Happy Times paper pack to create this page. For the banner, I used the Paper Fundamentals Sticker packs. The background stamp is from Penny Black.


For the other side, I dove into my stash for the yellow, foam 5, and created a small cluster with stickers, puffies, and sequins.


Ingredients: Unfortunately, all of this products are retired. For current products, please visit my website

Happy Scrapping, My Artsy Friends!

Monday, August 1, 2016

Twinkle Twinkle Joy

There is something truly magical about kids at Christmas. My oldest son absolutely loves our Christmas tree. (A little too much as he kept pulling ornaments off). I made a single page layout using the retired White Pines WOTG to highlight a single photo of him admiring our tree. 


I really liked the idea of using the Cricut Artbooking half page background on one side mixed with a busier left side. I added a stamped title on a Picture My Life card that I cut down.


I also added some ornament complements to the bottom.


All of these products are retired. To view current products, please visit my website.

Happy Scrapping, My Artsy Friends!

Sunday, July 31, 2016

Santa Magic Layout

This morning, my husband pushed me into my craftroom and said he would take care of our boys. It has been a glorious morning! I used my time to create a single page layout of my son's breakfast with Santa last year.


I used the retired White Pines WOTG to create this layout. I really love this paper, and wanted to show all of it. I also really loved the complements for this set, so I used it to create three different clusters. For the top left corner, I also used the retired Twinkle and Santa Claus stamp sets.


I am entering this layout in Heart 2 Heart Challenges Magical Challenge. There is nothing more magical than Santa!

All of these products are retired. To view current products, visit my website.

Happy Scrapping, My Artsy Friends!

Saturday, July 30, 2016

Urban Birthday Layout

Welcome back, readers! I've been working my way through scrapping my family's 2015 experiences. My oldest son turned 2 last year, so for his professional pictures I wanted something all boy to showcase them. I chose the Urban Workshop on the Go and the Artbooking cartridge to make this.


For the left page, I used a full sized 8x10 for the dominate photo and added layers and an embellishment cluster.


In the cluster, I hand colored a stamp from the Greeting Farm called Oh Boy! Ian to look like my son. 


For the right side, I used a full background layer from Artbooking and three photos. (I promise this page is not as crooked as it looks. It is all the angle of the photo.)


To embellish, I used the Boys Will Be Boys Cricut cartridge to cut the dump truck and the page title.


I also used the Paper Fundamentals Adventure Stickers to add the "Sweet Smile" caption.


All of these products are retiring tomorrow, so if you see something you like, visit my website to place your order.

Happy Scrapping, My Artsy Friends!

Saturday, July 23, 2016

A Charlotte Wedding

Good morning! If you are a regular follower of this blog, you know that my scrapbooking style tends to have one of three things: 1- layers, 2- embellishment clusters, and 3- lots of photos. This layout of my cousin's wedding has all three!


For this layout, I used the Charlotte Workshop Your Way. The Workshop Your Way kits include a full B&T paper pack, three sheets of cardstock, and two types of embellishments.


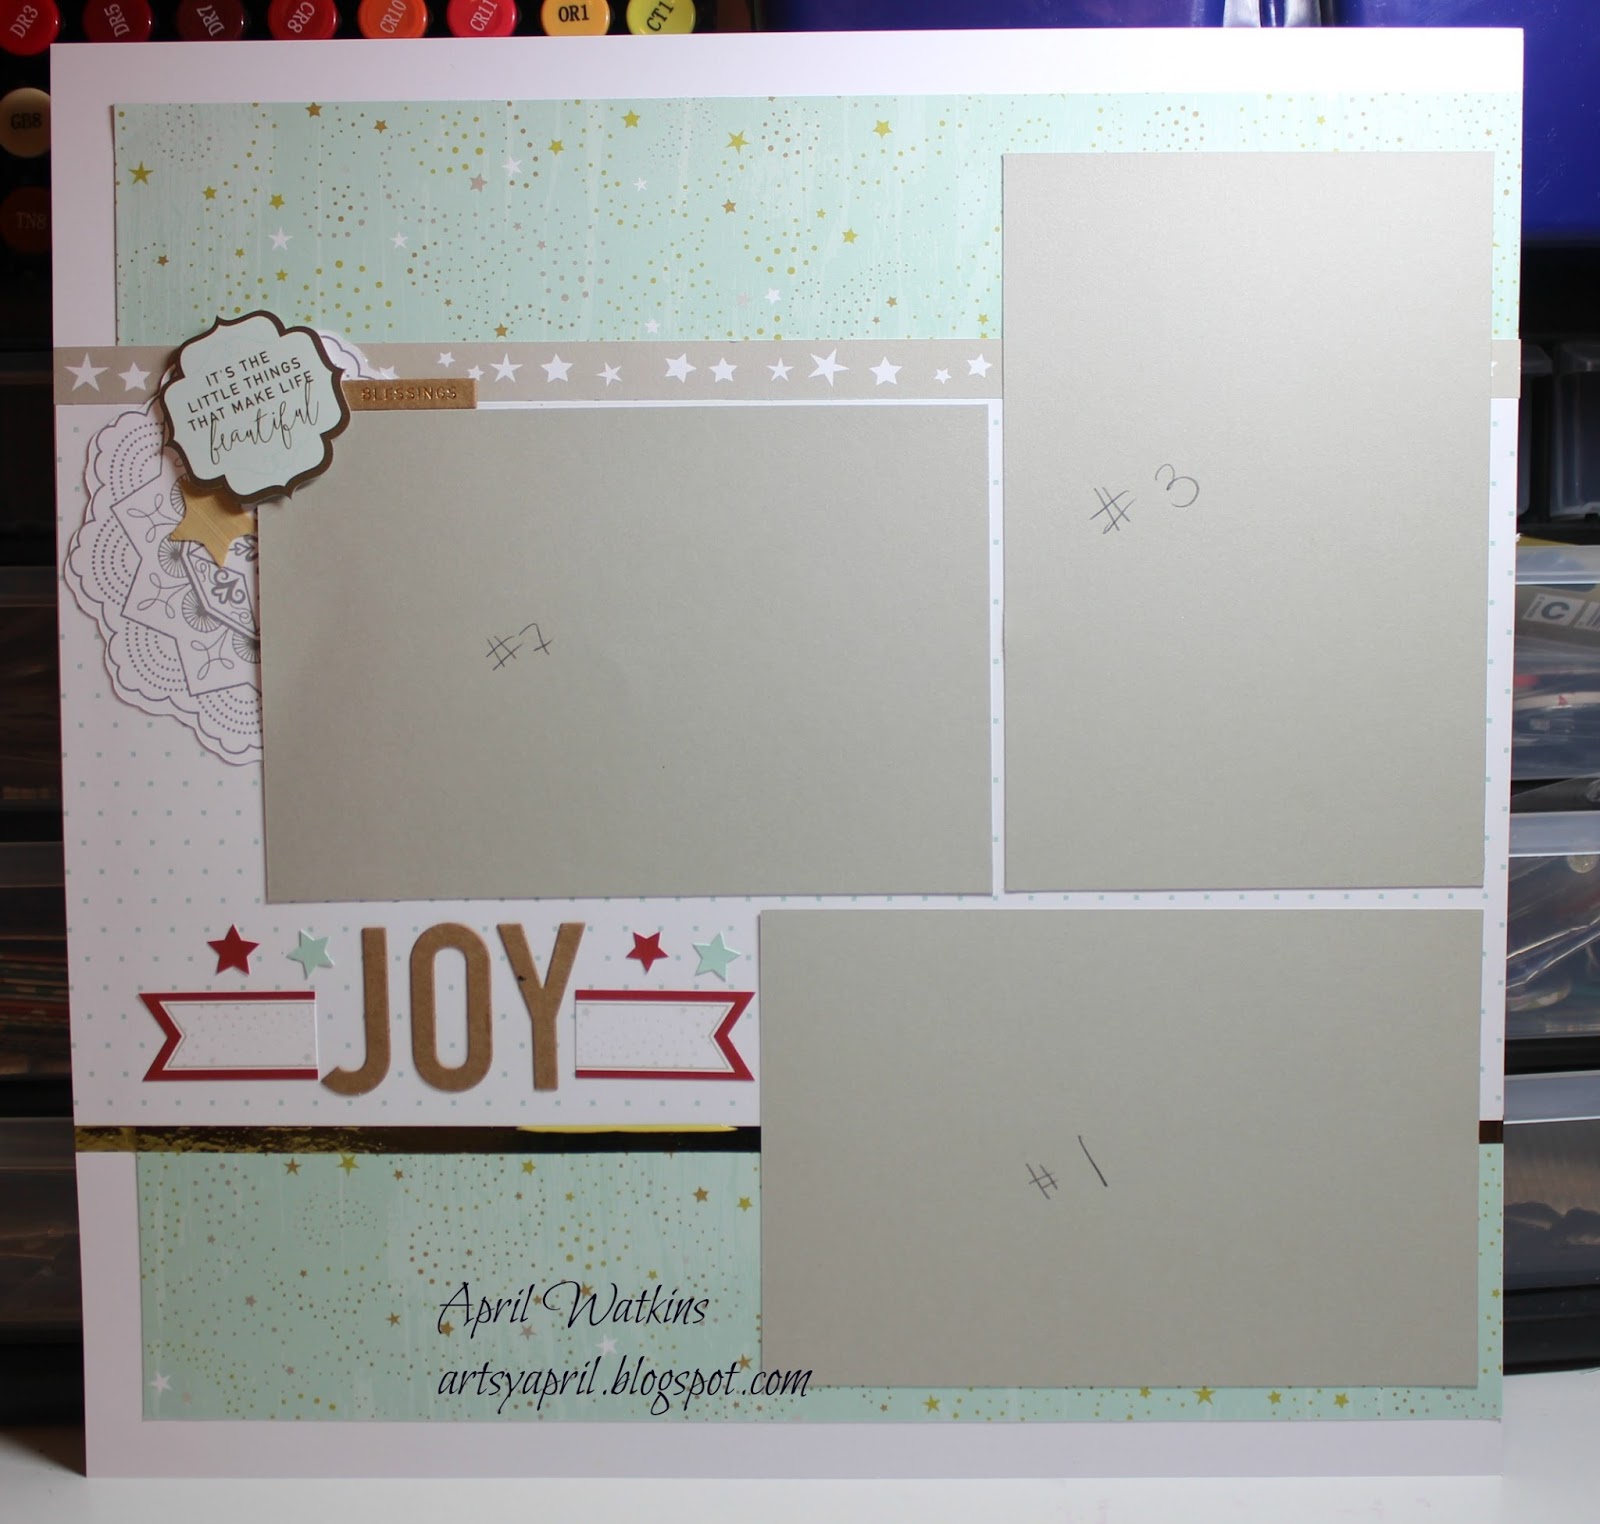
This layout was not easy to make, because I knew I wanted a lot of pictures, but I really wanted to include a 5x7 on the left page. I made it work by looking at my photos on my computer, and then cutting mats to the size I wanted the photos. Then, I moved the mats around until I got the final design. I actually have my own photo printer, so I can print the photos the exact size I want them.


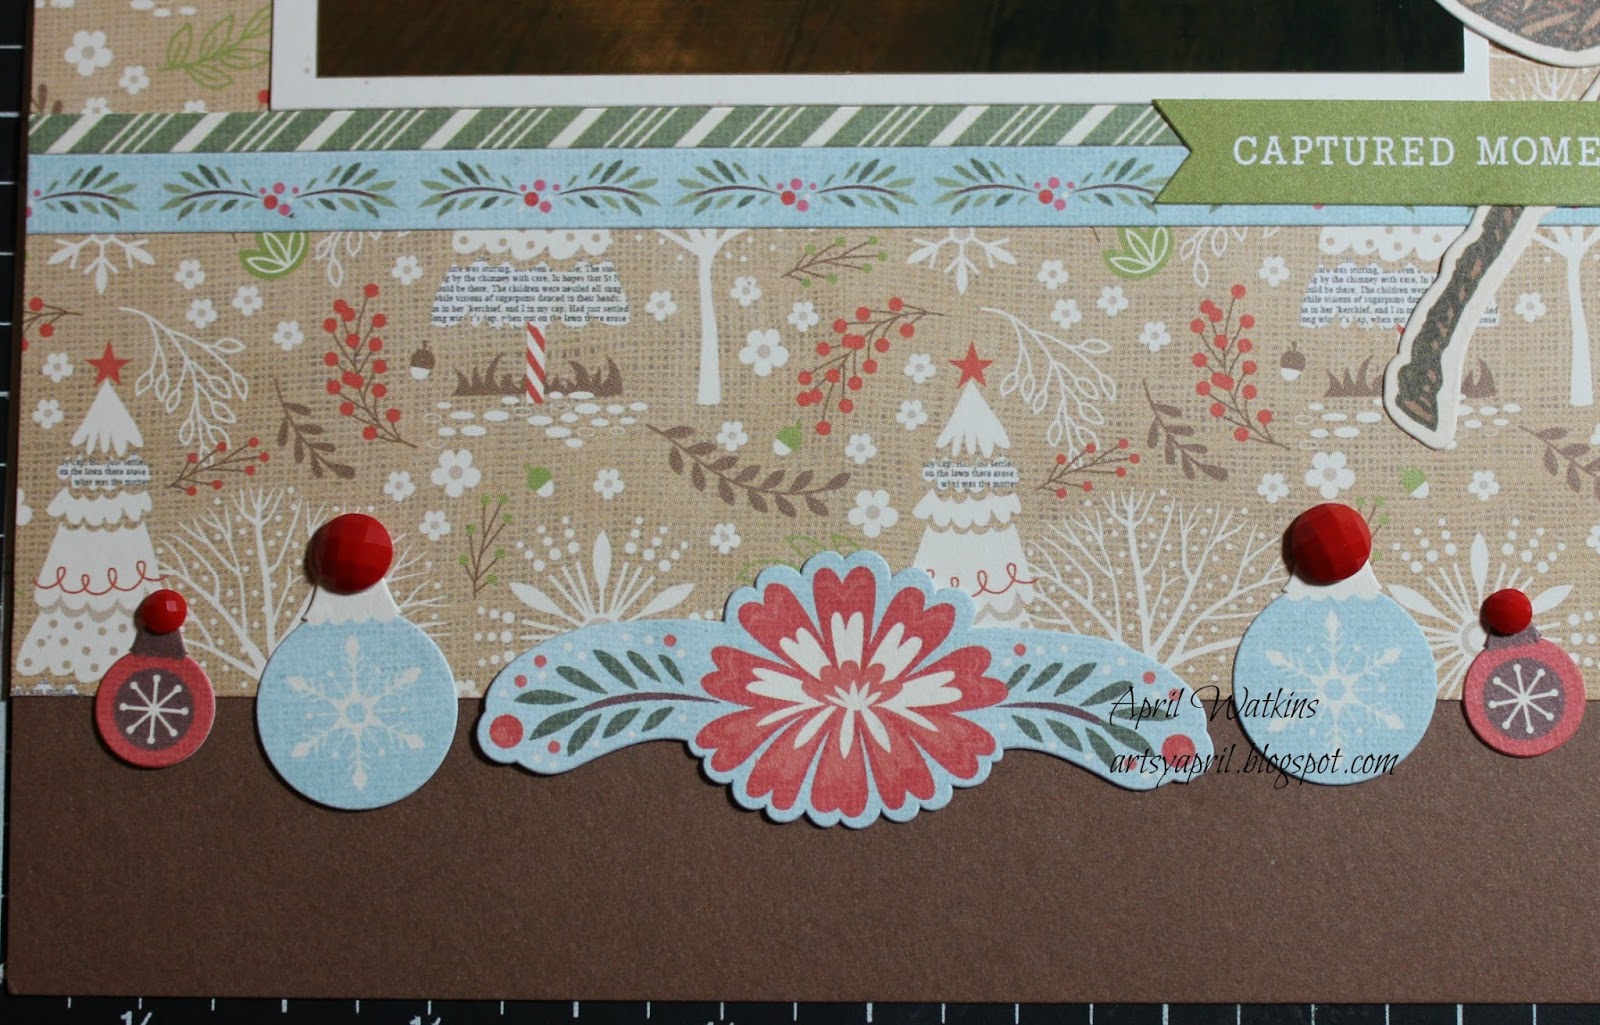
I added an embellishment cluster to the bottom left, The base of the cluster is a heart doily cut using a die run through my Cuttlebug. Then, I added layers using the Charlotte complements and some Paper Fundamentals Stickers from the Basic set.


For the right page, I created a grid using six 3x3 photos and two dominate photos in the middle. Since the photos didn't leave a lot of room for embellishments, I double layered the background and added a very small cluster to the bottom.


Ingredients:
Happy Scrapping, My Artsy Friends!