Showing posts with label Workshop on the Go. Show all posts

Monday, August 1, 2016

Twinkle Twinkle Joy

There is something truly magical about kids at Christmas. My oldest son absolutely loves our Christmas tree. (A little too much as he kept pulling ornaments off). I made a single page layout using the retired White Pines WOTG to highlight a single photo of him admiring our tree. 


I really liked the idea of using the Cricut Artbooking half page background on one side mixed with a busier left side. I added a stamped title on a Picture My Life card that I cut down.


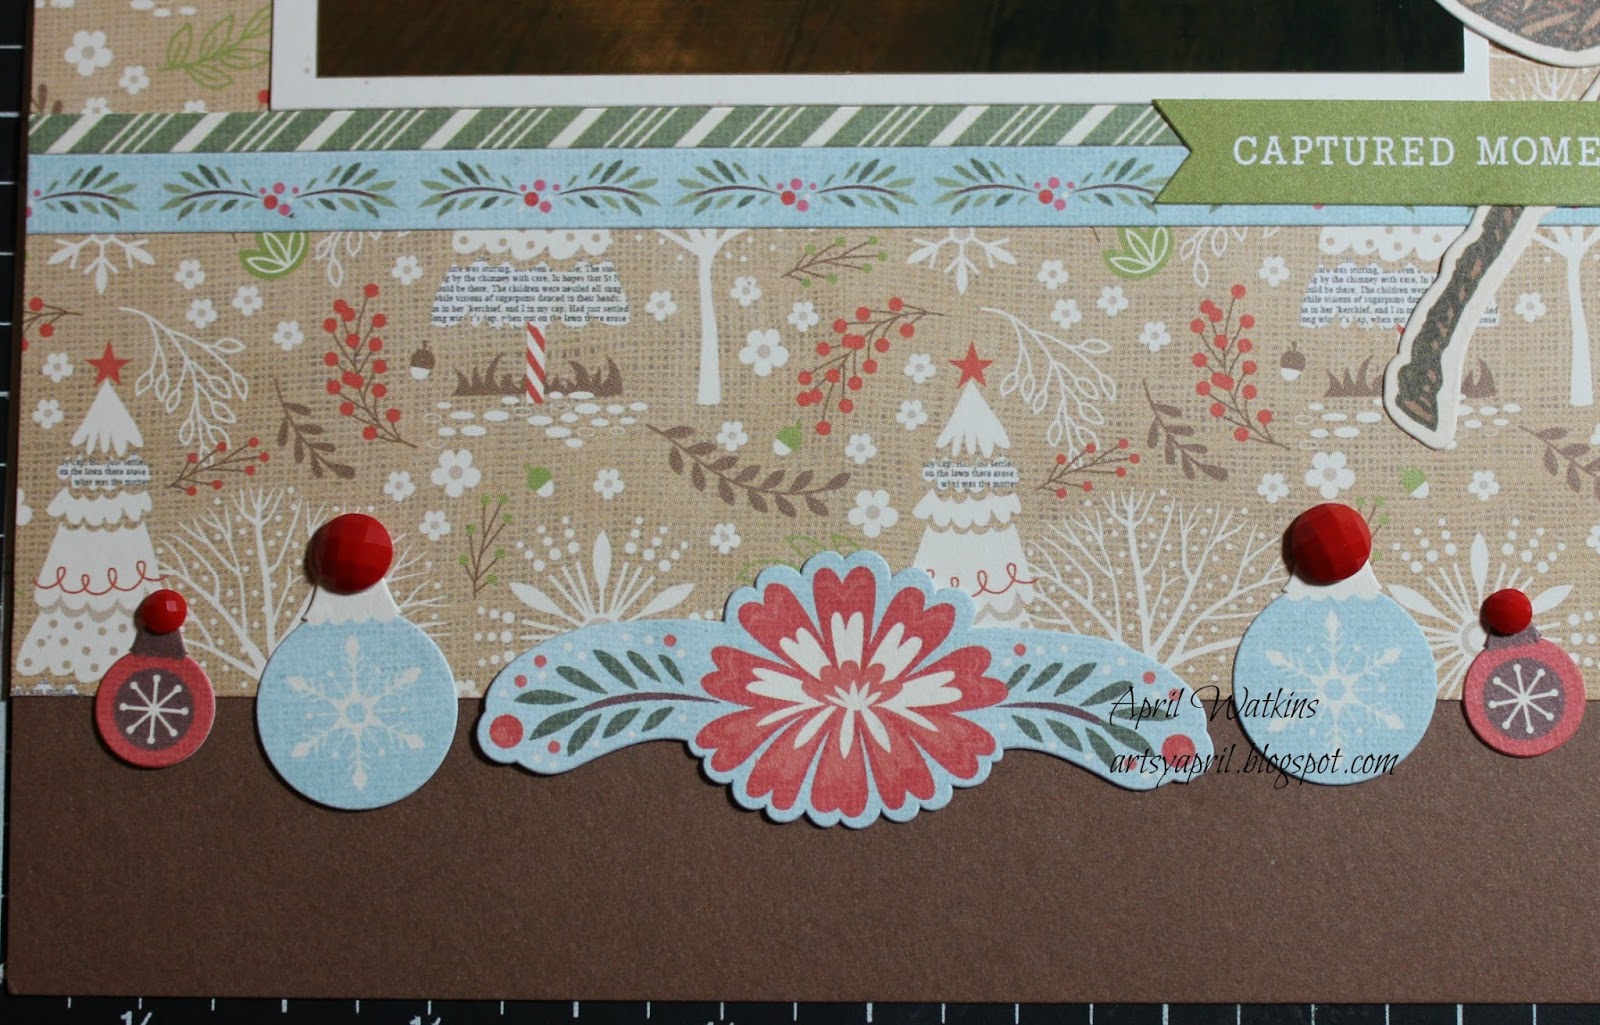
I also added some ornament complements to the bottom.


All of these products are retired. To view current products, please visit my website.

Happy Scrapping, My Artsy Friends!

Sunday, July 31, 2016

Santa Magic Layout

This morning, my husband pushed me into my craftroom and said he would take care of our boys. It has been a glorious morning! I used my time to create a single page layout of my son's breakfast with Santa last year.


I used the retired White Pines WOTG to create this layout. I really love this paper, and wanted to show all of it. I also really loved the complements for this set, so I used it to create three different clusters. For the top left corner, I also used the retired Twinkle and Santa Claus stamp sets.


I am entering this layout in Heart 2 Heart Challenges Magical Challenge. There is nothing more magical than Santa!

All of these products are retired. To view current products, visit my website.

Happy Scrapping, My Artsy Friends!

Saturday, July 30, 2016

Urban Birthday Layout

Welcome back, readers! I've been working my way through scrapping my family's 2015 experiences. My oldest son turned 2 last year, so for his professional pictures I wanted something all boy to showcase them. I chose the Urban Workshop on the Go and the Artbooking cartridge to make this.


For the left page, I used a full sized 8x10 for the dominate photo and added layers and an embellishment cluster.


In the cluster, I hand colored a stamp from the Greeting Farm called Oh Boy! Ian to look like my son. 


For the right side, I used a full background layer from Artbooking and three photos. (I promise this page is not as crooked as it looks. It is all the angle of the photo.)


To embellish, I used the Boys Will Be Boys Cricut cartridge to cut the dump truck and the page title.


I also used the Paper Fundamentals Adventure Stickers to add the "Sweet Smile" caption.


All of these products are retiring tomorrow, so if you see something you like, visit my website to place your order.

Happy Scrapping, My Artsy Friends!

Saturday, July 23, 2016

A Charlotte Wedding

Good morning! If you are a regular follower of this blog, you know that my scrapbooking style tends to have one of three things: 1- layers, 2- embellishment clusters, and 3- lots of photos. This layout of my cousin's wedding has all three!


For this layout, I used the Charlotte Workshop Your Way. The Workshop Your Way kits include a full B&T paper pack, three sheets of cardstock, and two types of embellishments.


This layout was not easy to make, because I knew I wanted a lot of pictures, but I really wanted to include a 5x7 on the left page. I made it work by looking at my photos on my computer, and then cutting mats to the size I wanted the photos. Then, I moved the mats around until I got the final design. I actually have my own photo printer, so I can print the photos the exact size I want them.


I added an embellishment cluster to the bottom left, The base of the cluster is a heart doily cut using a die run through my Cuttlebug. Then, I added layers using the Charlotte complements and some Paper Fundamentals Stickers from the Basic set.


For the right page, I created a grid using six 3x3 photos and two dominate photos in the middle. Since the photos didn't leave a lot of room for embellishments, I double layered the background and added a very small cluster to the bottom.


Ingredients:
Happy Scrapping, My Artsy Friends!

Tuesday, September 8, 2015

Christmas Cards Preview

Hey there, scrappers! For my monthly card swap this month, we were to create something using the new White Pines paper pack. I'm obsessed with this paper! It is my favorite Christmas/ Winter paper CTMH has ever had! We also have some really adorable stamp sets that match the feel of the paper perfectly.


I used three different stamp sets on the front of the card. The tree is from the White Pines Workshop on the Go. The sentiment is from Season's Greetings, which is actually a really cute penguin stamp set. And, the fox is from Miracle of Christmas, which features several woodland creatures. 


To create the fox, I first stamped the image using Black pigment ink, and then heat embossed with clear embossing powder. Embossing the image first helps keep the marker coloring from leaking too much, and it adds texture to the card.


For the inside of the card, I used the rest of the sentiment from the Season's Greetings stamp set. Both sentiments are included on a single stamp, but I broke the text up, but bending the text around a stamping block. 


Ingredients:
Happy Scrapping, My Artsy Friends!

Monday, July 13, 2015

Life's a Beach

This week's Heart 2 Heart Challenge is Life is a Beach. I used this as an opportunity to scrapbook our trip to Clearwater Beach last year.


I absolutely love the Seaside WOTG. I will really miss this set when it retires next month! 


I used some cuts from the Life's a Beach Cricut cartridge to create waves and the brown border.


I also used the Seaside Picture My Life cards to embellish the page. And, yes, those are real seashells from the beach.


I added an extra layer to the page by using a background stamp that is included with the WOTG. 


On the right page, I continued the same Cricut cuts to balance the pages.


To add dimension to the page, I cut up a PML card and added foam tape behind certain parts. (Thanks to my friend Adrienne for letting me scraplift this!)


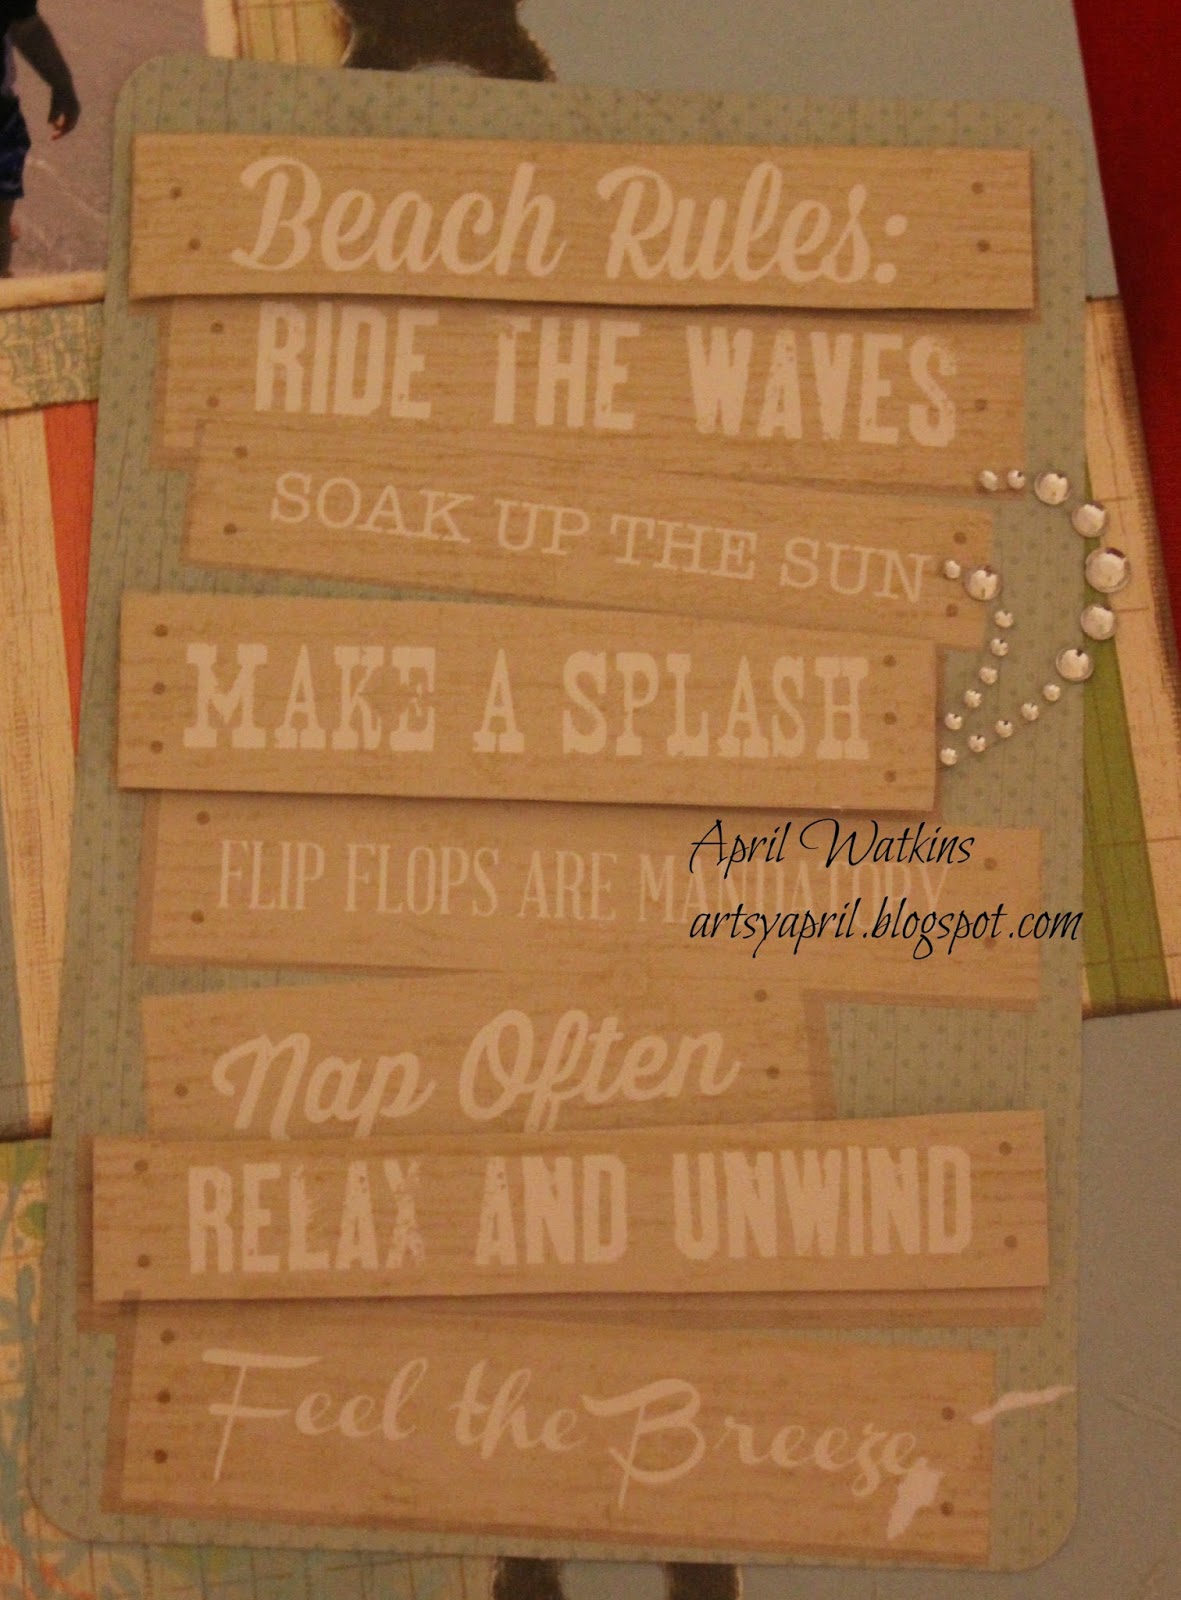
I also made this little beach sign that I added hemp string to, so that it looks like you could hang it.

Ingredients:

Happy Scrapping, My Artsy Friends!