For my first layout, I did a spread on our church's Trunk or Treat event. My family is all about the theme costumes. To quote my husband, "What's the point in having kids, if you can't have a family costume." This year, we went back to my husband's roots and dressed as pirates. My husband even built this really cool boat out of an old Power Wheels set! The end result was a fun, exciting page using the Scaredy Cat Paper Pack and the magic of Artbooking.
The layout was inspired by the Confetti Wishes Workshop on the Go design. I added my own spin by adding the Artbooking overlays. For the left page, I used the full spiderweb overlay, and layered the other elements on top.
The haunted house icon is also from Artbooking. I added some Scaredy Cat paper in some of the window cutouts to add another element to the icon.
For the page title, I used the Mini Monsters and Robots Cricut cartridges. I used Cricut Craftroom to create a title mixing the two cartridges. The adorable washi tape is from Target. I bought it in their after Halloween clearance section. I believe it is Scotch brand.
For the right page, I used the corner spider web overlay as my base.
For the spiderweb border, I added a fun element to the black cardstock. Basically, when I first put it together, it looked so bland and flat. So, I came up with an idea. I took my VersaMark ink pad, and wet the paper directly with it. Then, I added clear embossing powder to the paper, and used my craft heater, just like I would to emboss a stamp. The end result was this awesome shiny paper! Notice how in the top of the image is catches the light? That's the embossing!
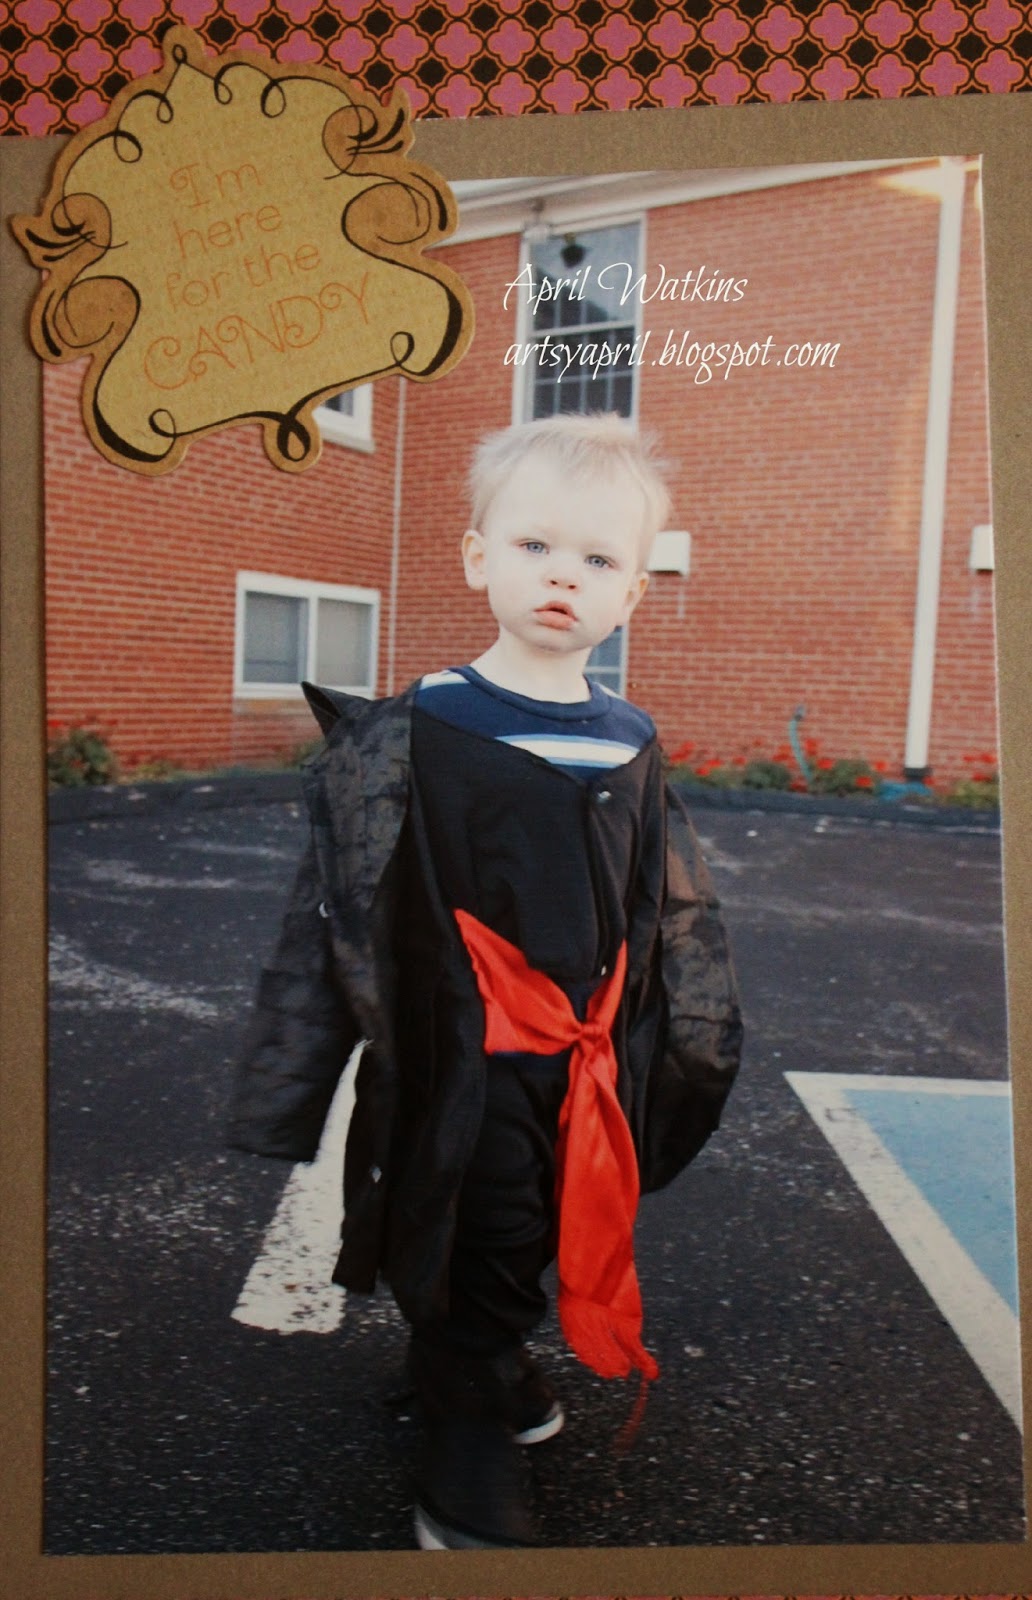
Last, but not least I leave you with this picture of my adorable son who won a prize for the "cutest" costume. He's kind of a favorite at our church. ;)
Ingredients (click the photo to order your own):
Happy Scrapping, My Artsy Friends!


No comments:
Post a Comment