Showing posts with label Stamping. Show all posts

Monday, December 19, 2016

Santa Cards Using Sketch

My oldest son is in preschool this year. I wanted to make his teachers cards that were a little more kid friendly, since they are part of a gift from a 3yr old. I used a sketch from Heart 2 Heart Challenges to create a fun Santa card.


I created this design using the retired White Pines paper pack and a retired Santa stamp set. I added green shimmer trim and used the shimmer brush on the snowflake to add some sparkle.

For more information on Heart 2 Heart Challenges click here.

Happy scrapping, my artsy friends!

Saturday, November 19, 2016

Thanksgiving Thank You Card

This year for Thanksgiving, we are going to visit my husband's grandparents. I wanted to make a Thank You card to thank them for feeding us and housing us for a few days. Here's what I came up with.


I used a Colonial White card base, and layered Kraft paper and a retired CTMH fall, B&T paper. I also added some bronze shimmer trim to create a dividing line on the card. For the sentiment, I stamped Cocoa ink on Kraft paper using the retired Thanksgiving Wreath stamp set.


For the pumpkin and leaves, I used the retired Thankful Heart stamp set. I stamped all of the items using pigment ink and then heat embossed to give them texture. I then hand colored them all with markers. Finally, I took a quilling tool to curl the edges of the leaves.

I am entering this card in Heart 2 Heart's Get Your Kraft On Challenge.

Happy Scrapping, My Artsy Friends!

Monday, November 7, 2016

Christmas Lights Layout

Every year, my town has a beautiful Christmas lights display on the square. My son absolutely loves walking through the light tunnels. Last year, the colors were perfect for an old Doodle Bug paper pack I had in my stash. The Doodle Bug paper pack is called Winter Friends, and I have no idea how old it is. I bought it a few years ago, but I believe it was already retired at that point.


So, for this layout, I used the Cricut Create a Critter 2 cartridge to cut out these adorable penguins, polar bear.


For the both pages, I also added a fun light string stamped design using a retired Close to My Heart Stamp of the Month. Unfortunately, not as much ended up showing as I had originally intended.


This little twinkle was from the same stamp set.


Finally, I added some funky Christmas trees from the Cozy Christmas Thin Cuts Bundle. This is a stamp set that comes with the Thin Cuts! The sentiment is also from this stamp set. And, the Enamel and Glitter Duos Blue Dots also matched this paper pack perfectly!


I am entering this layout in the Heart 2 Heart Holiday Challenge, which asks for holiday designs without red or green!

Close to My Heart Ingredients:
  • Glitter Duos Blue Dots
  • Cozy Christmas Thin Cuts Bundle
  • White Daisy Cardstock
  • Black Cardstock
  • Slate Cardstock
  • Peacock Ink Pad
Happy Scrapping, My Artsy Friends!

Monday, September 5, 2016

Hawiian Birthday Card

Hello readers! September is National Stamping Month! CTMH is celebrating by offering a really adorable mini card set. You can order yours here.


I am kicking off my celebration with a Hawaiian inspired birthday card for a friend.


For the base of this card, I used a retired paper fundamentals sheet in lagoon. The pineapple was cut from the Artistry Cricut cartridge. And, the flowers are stamps from the retired Blossoming Friendship set. I used the second generation stamping method for to create the two tone look of the flowers. 

I am entering the card in the Heart 2 Heart stamping challenge.

Happy Scrapping, My Artsy Friends!

Friday, August 5, 2016

All You Need Is Love

Recently, I purchased a mini stamp with the sentiment "All You Need Is Love Love Is All You Need". I specifically purchased this stamp to use for my 5th Anniversary page. In the end, this is what I came up with.


I used the retired Happy Times paper pack to create this page. For the banner, I used the Paper Fundamentals Sticker packs. The background stamp is from Penny Black.


For the other side, I dove into my stash for the yellow, foam 5, and created a small cluster with stickers, puffies, and sequins.


Ingredients: Unfortunately, all of this products are retired. For current products, please visit my website

Happy Scrapping, My Artsy Friends!

Monday, August 1, 2016

Twinkle Twinkle Joy

There is something truly magical about kids at Christmas. My oldest son absolutely loves our Christmas tree. (A little too much as he kept pulling ornaments off). I made a single page layout using the retired White Pines WOTG to highlight a single photo of him admiring our tree. 


I really liked the idea of using the Cricut Artbooking half page background on one side mixed with a busier left side. I added a stamped title on a Picture My Life card that I cut down.


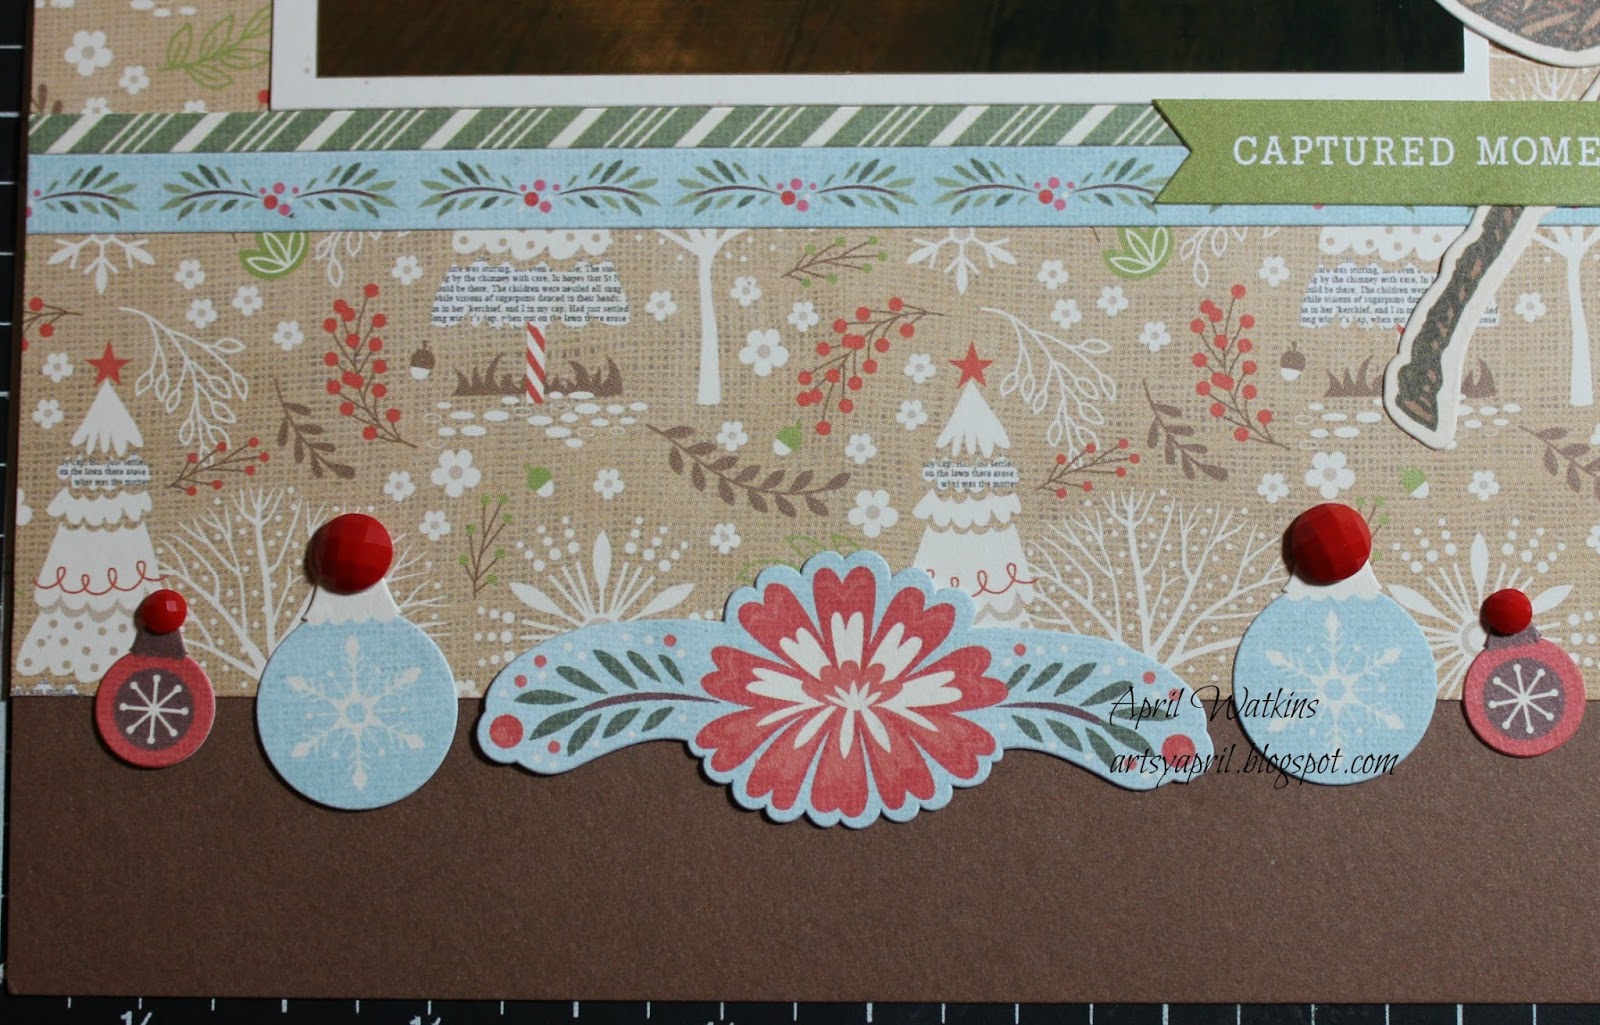
I also added some ornament complements to the bottom.


All of these products are retired. To view current products, please visit my website.

Happy Scrapping, My Artsy Friends!

Sunday, July 31, 2016

Santa Magic Layout

This morning, my husband pushed me into my craftroom and said he would take care of our boys. It has been a glorious morning! I used my time to create a single page layout of my son's breakfast with Santa last year.


I used the retired White Pines WOTG to create this layout. I really love this paper, and wanted to show all of it. I also really loved the complements for this set, so I used it to create three different clusters. For the top left corner, I also used the retired Twinkle and Santa Claus stamp sets.


I am entering this layout in Heart 2 Heart Challenges Magical Challenge. There is nothing more magical than Santa!

All of these products are retired. To view current products, visit my website.

Happy Scrapping, My Artsy Friends!

Saturday, July 30, 2016

Urban Birthday Layout

Welcome back, readers! I've been working my way through scrapping my family's 2015 experiences. My oldest son turned 2 last year, so for his professional pictures I wanted something all boy to showcase them. I chose the Urban Workshop on the Go and the Artbooking cartridge to make this.


For the left page, I used a full sized 8x10 for the dominate photo and added layers and an embellishment cluster.


In the cluster, I hand colored a stamp from the Greeting Farm called Oh Boy! Ian to look like my son. 


For the right side, I used a full background layer from Artbooking and three photos. (I promise this page is not as crooked as it looks. It is all the angle of the photo.)


To embellish, I used the Boys Will Be Boys Cricut cartridge to cut the dump truck and the page title.


I also used the Paper Fundamentals Adventure Stickers to add the "Sweet Smile" caption.


All of these products are retiring tomorrow, so if you see something you like, visit my website to place your order.

Happy Scrapping, My Artsy Friends!

Friday, July 22, 2016

A Kiddie Halloween

One of my absolute favorite yearly events to scrapbook is Halloween. I think part of it is that I love the colors associated with it, but it's also because we have so much fun as a family celebrating Halloween. Last year, my oldest son and I attended a Halloween party for our Early Childhood PTA. Let me tell you how adorable it is to have a costume party with toddlers. For Halloween, my son was a rocket ship and I was the Moon. I made both of our costume, and you can view them better here. For this two page layout, I mixed two retired CTMH Halloween paper packs, Scaredy Cat and Nevermore.


For the left page, I used a spiderweb cut from the Artbooking and some fussy cut stamps from the retired Little Monsters stamp set to embellish. 


I actually had this spiderweb left over from another project, so this worked as a stash buster for me, as well. I never throw out extra cuts, because I can usually find another project for them!


The thing I loved about this stamp set was that the monsters look like kids, which was perfect for this design. I hand colored the images using blending markers. 


For the right page, I cut the title from the Mini Monsters Cricut Cartridge. I think this cartridge maybe retired, which is a shame, because it's really awesome!


Here again, I mixed embellishments from the two retired paper packs.


Ingredients: Unfortunately, all of these products are retired, but you can view all current products here.

Happy Scrapping, My Artsy Friends!

Thursday, July 21, 2016

German Food and Fundamentals

Hello again! Close to My Heart Paper Fundamentals make great paper for accents, but I rarely do an entire layout using them. Today was one of the exceptions. When my bestie Heather came to visit last summer, we took her to our favorite German restaurant Das Schnitzel Haus in Parma, Ohio. If you don't already know, Ohio is full of delicious German food. Das Schnitzel Haus is the best German food outside of my grandma's kitchen.


As you can see, I used three different Paper Fundamentals papers to create a funky German flag background. The black layer is turned to the shiny side of the paper, but the pattern is still there. The banner in the corner is also a mixture of Paper Fundamentals embellishment packs. The "Explore" and "German Food" stickers are from the Basic Fundamentals Stickers.


I created this funky hexagon design using cuts from the Artistry Cricut cartridge and the Hexagonal Patterns stamp set.


The "You Are Here" embellishment comes from the Cranberry Fundamental Assortment. And, I used the Documenting Moments journaling stamp to add my journaling.

I am entering this layout in this week's Heart 2 Heart Sightseeing Challenge, since it was part of Heather's Ohio grand tour!

Ingredients:

Happy Scrapping, My Artsy Friends!

Tuesday, July 12, 2016

Scrapping Friends

My best friend Heather and I share the love of scrapbooking, so when she came to visit me last summer, she brought some supplies. Oddly, we had never taken pictures scrapping together before, so this time we absolutely had to. Heather and I are both minimalistically girly, so I chose the slight flowery patterns found in the retired Happy Times paper pack.


To embellish this page, I mixed a lot of different products I had hanging around (see below), but I specifically purchased the retired SOTM Life in Pictures for this page and created a cute cluster.


For the flowers in the mason jar, I colored them using the watercolor pencils. I love the look, because it is much more subtle than markers.

Since I created this layout using stuff I had been hoarding, but I hadn't used, I entered this design in the Heart 2 Heart Challenges Throwback Challenge.

Ingredients:
Happy Scrapping My Artsy Friends!

Thursday, May 19, 2016

USCG Thank You Card

This weekend, I will be attending a tea for the spouses of Active Duty Coast Guard members hosted by the Admiral. I wanted to create a classy thank you card for the event.


I used the retired My Anchor stamp set and thin cuts to create the lighthouse and paper sailboat. The "Thanks" stamp set is from the retired Thanksgiving Wreath stamp set. The large anchor is a Spellbinders die. I cut the anchor out on White Daisy cardstock, and then using finger daubers I layered Slate and Outdoor Denim ink.


For the inside of the card, I layered some more retired Outdoor Denim and White Daisy. The small anchor is also from the My Anchor set. I also used the finger dauber here to create another layer of Outdoor Denim.

Happy Scrapping, My Artsy Friends!

Saturday, April 23, 2016

Two Simple Cards Using Paper Fundamentals

This week, my husband graduated college and had a birthday! Since these were both perfect card giving opportunities, I got crafty! I wanted to make adorable cards on the quick, so I decided to use the Paper Fundamentals for both cards. I really love Paper Fundamentals, because they can easily accent any paper pack, work together for a fun design, or stand alone.


For the first card, I used an old Paper Fundamentals sheet in Smokey Plumb (retired). I used a Spellbinders die to cut and emboss the circle, which I stamped with stars and a sentiment. The owl is cut from Cricut Create a Critter 2. I chose this color scheme, because they are the colors of Grand Canyon University, where my husband graduated. I am entering this card in Heart 2 Heart's "Four" Challenge, since college takes four years.


For his birthday card, I used Adventure Paper Fundamentals Honey Cardstock. Yellow is my husband's favorite color. I again used a Spellbinders die to cut and emboss a circle. The stamps and sentiment here are a die and stamp set from Lawn Fawn

Ingredients: 
Happy Scrapping, My Artsy Friends!

Saturday, March 19, 2016

Two Cards, Different Themes

Hello again! Today is my son's 3rd birthday! Last night I made him a birthday card in the color scheme (Topiary, Indian Corn Blue, and Pomegranate)  of his birthday party. His party theme is PJ Masks, which is a show on Disney Junior.


Despite this show being so popular, Disney has not released any merchandise yet, so I just used the CTMH Balloon Animals (retired) stamps to create this fun card.


I also made a Get Well Soon card for my awesome cousin who has been in the hospital. For this card, I used the colors from the Color My Heart Color Dare #185 and the Atlantic Hearts Sketch #151


Unfortunately, there are similar cards on both page already submitted. But, I'm going to submit my anyway, since I did participate.

Supplies:

Happy Scrapping, My Artsy Friends!

Tuesday, March 15, 2016

4th of July Layout

Hello there, papercrafters! So, I am finally getting back into the swing of things. I am six months pregnant with baby number 2, so my free time has been spent sleeping! I'm getting that second trimester energy burst, so while my toddler was napping today, I was scrapping!!!


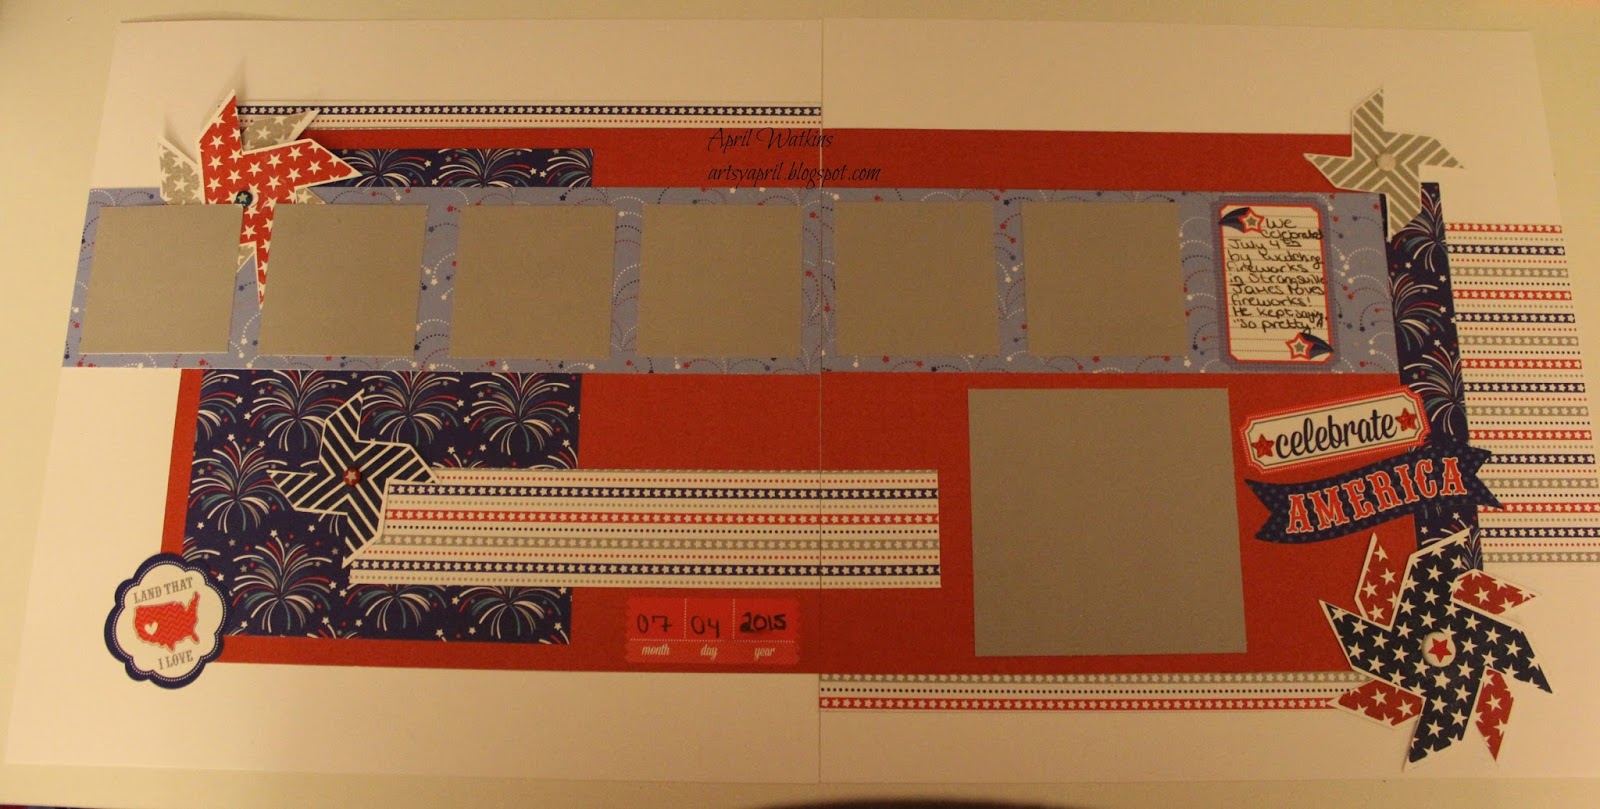
So, for our 4th of July 2015, I had a lot of fireworks pictures, but sadly not so many family photos. I wanted to showcase the photos, but I really wanted to emphasis this beautiful patterned paper from the Doodlebug Patriotic Parade paper pack. To do that, I chose a layout from the Make It From the Heart Vol. 2 guidebook. I have used this pattern before, if you would like another example


For the left page, I used CTMH cardstock to help layer the Doodlebug design. I also added some stamping from a retired CTMH Pinwheel stamp that I cut first with the Cricut Artiste cartridge.


The Cranberry cardstock pictured above is actually part of the Paper Fundamentals Adventure pack. It's hard to see, but this side of the paper is glossy with understated tone on tone circles. The back of the paper (not pictured) has these circles in white.


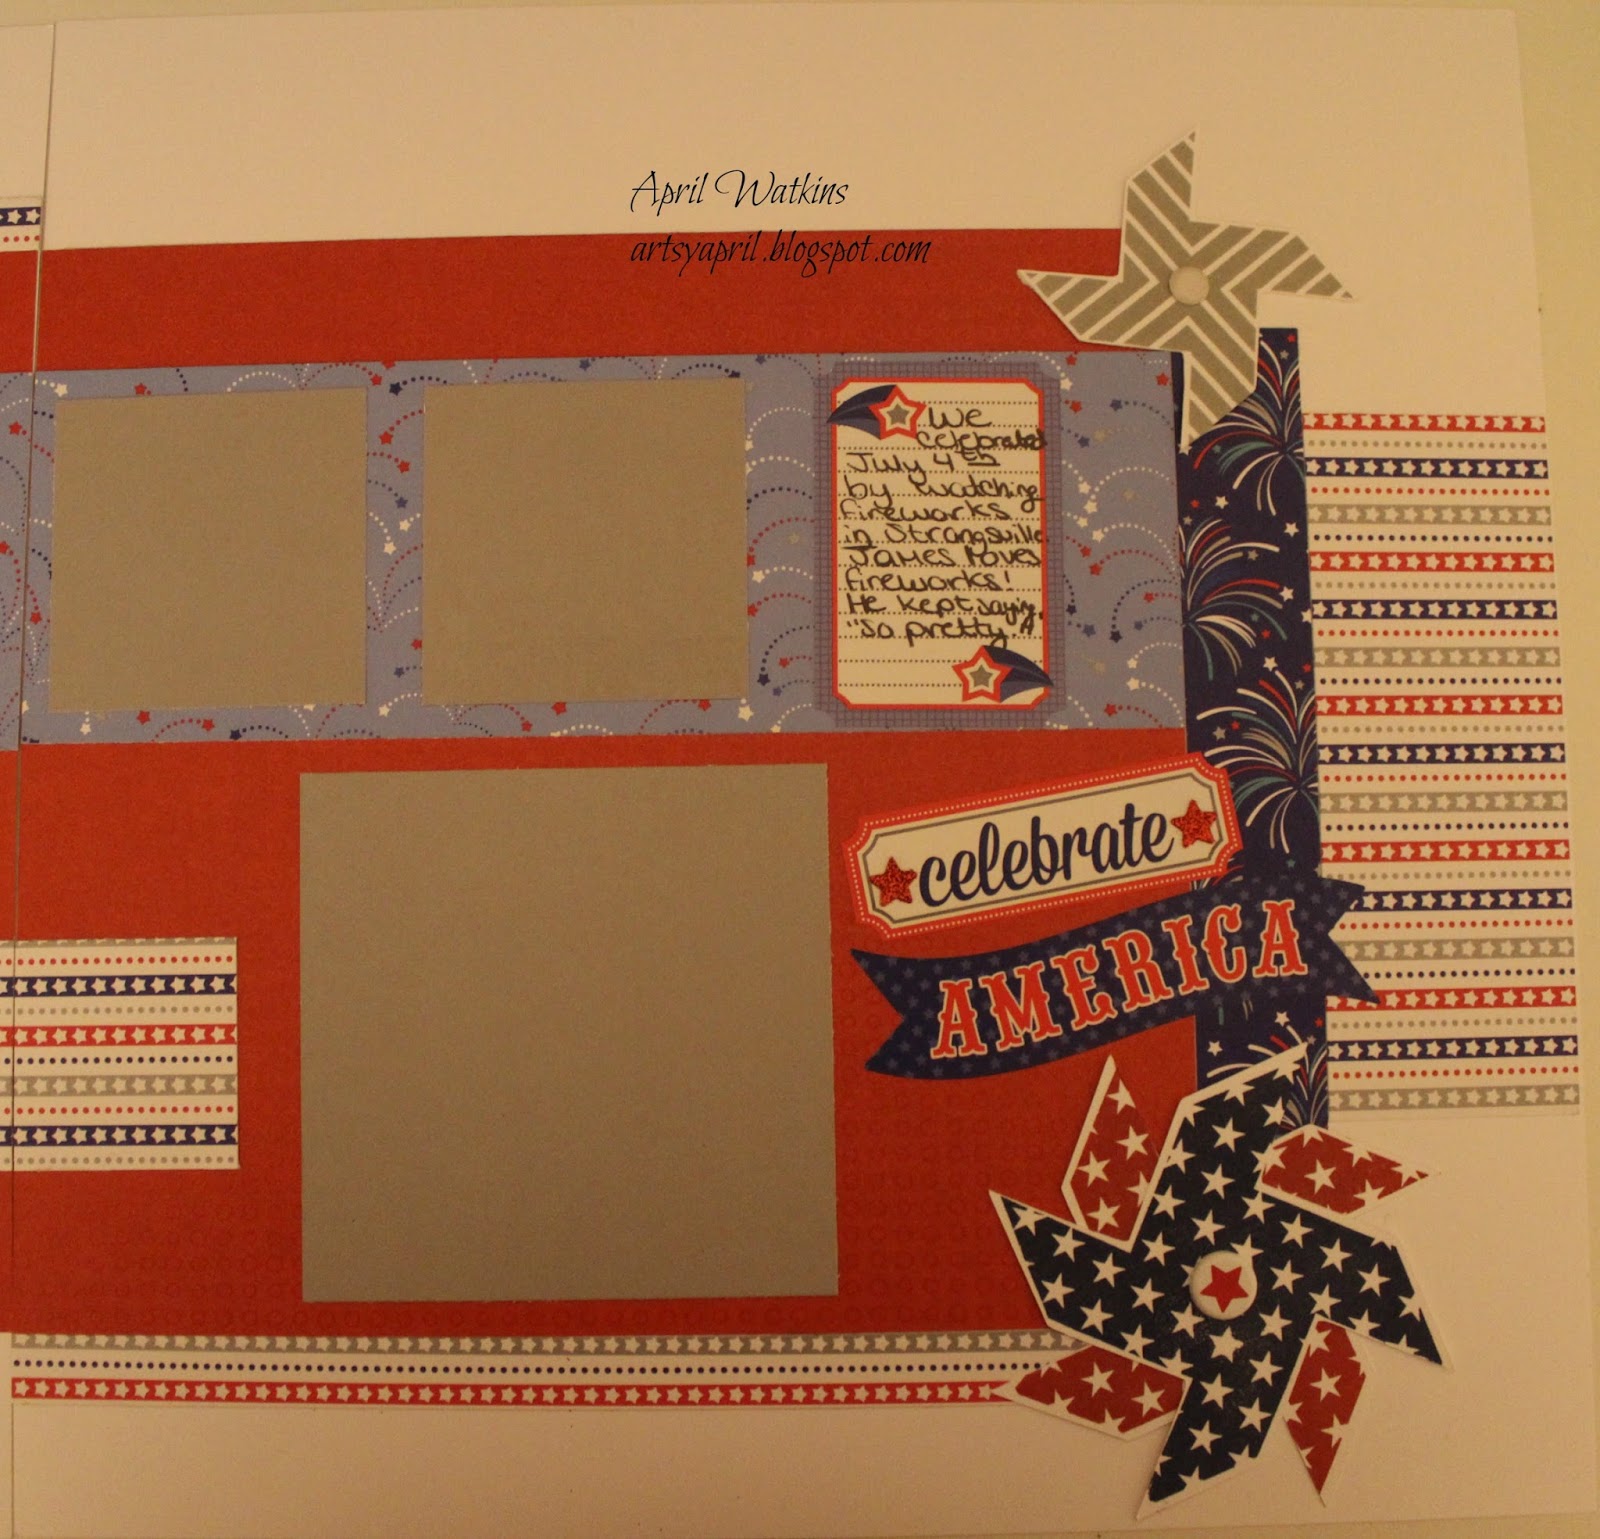
For the right page, I jazzed things up with some more of the Pinwheels and some stickers included with the Doodlebug paper pack. I also added a bonus 4x4 photo in the negative space to really make this design my own.


To hold the Pinwheel designs together, I used retired CTMH brads that match this paper perfectly.

Shopping List:
Happy Scrapping, My Artsy Friends!