Showing posts with label Flip Flaps. Show all posts

Monday, November 16, 2015

Six Pages in One

In case you haven't noticed, I am OBSESSED with flip-flaps! I love that I can use them to add more pictures to a layout, so that I don't have several pages for one event. I especially love that the large assortment can be used to create additional pages attached to an original layout. Essentially, you can create six pages in a single layout! Plus, the layouts become interactive, which my two-year old son LOVES!


In the past, when I have created these full spreads using flip flaps, I have used a pattern from one of CTMH's how-to books. But, this time, all of the pages were original designs, which was super time consuming, but I am really happy about the end result. 


For the left page, I created my own B&T using stamping and accented with a Picture My Life card and stickers. Although the cardstock is CTMH, the paper pack I used for this spread was from Bella Carta.


This is the inside of the left page. I used random stamping and PML cards here again. The paper gears on the right side were cut using Artiste. 


For the right page, I used some stenciling for the background on one side. I also colored some stamped images of a robot family.


For the inside of the right page, I used more random stamping, and created a banner using stamping and the Art Philosophy cartridge. In the middle, I highlighted the number 2, because these pages are for my son's 2nd birthday trip to the Science Museum. 

And there you have it! Six pages in one layout! I am entering this layout in Heart 2 Heart's Through the Window challenge.

Ingredients:

Happy Scrapping, My Artsy Friends!
Wednesday, June 3, 2015

Two Layouts, One Sketch

Hello again! Today I am going to show you two more no stamping pages! I had a good response from my Thanksgiving limited stamping pages, so I am going to show you two different spreads using NO STAMPING!


For both of these layouts, I used a sketch from the challenge blog Let's Scrap. Although, the sketch inspired me on these pages, I did deviate from it.


I'm kind of in love with this first spread. I used the Yuletide Carol paper pack and complements to create these pages.


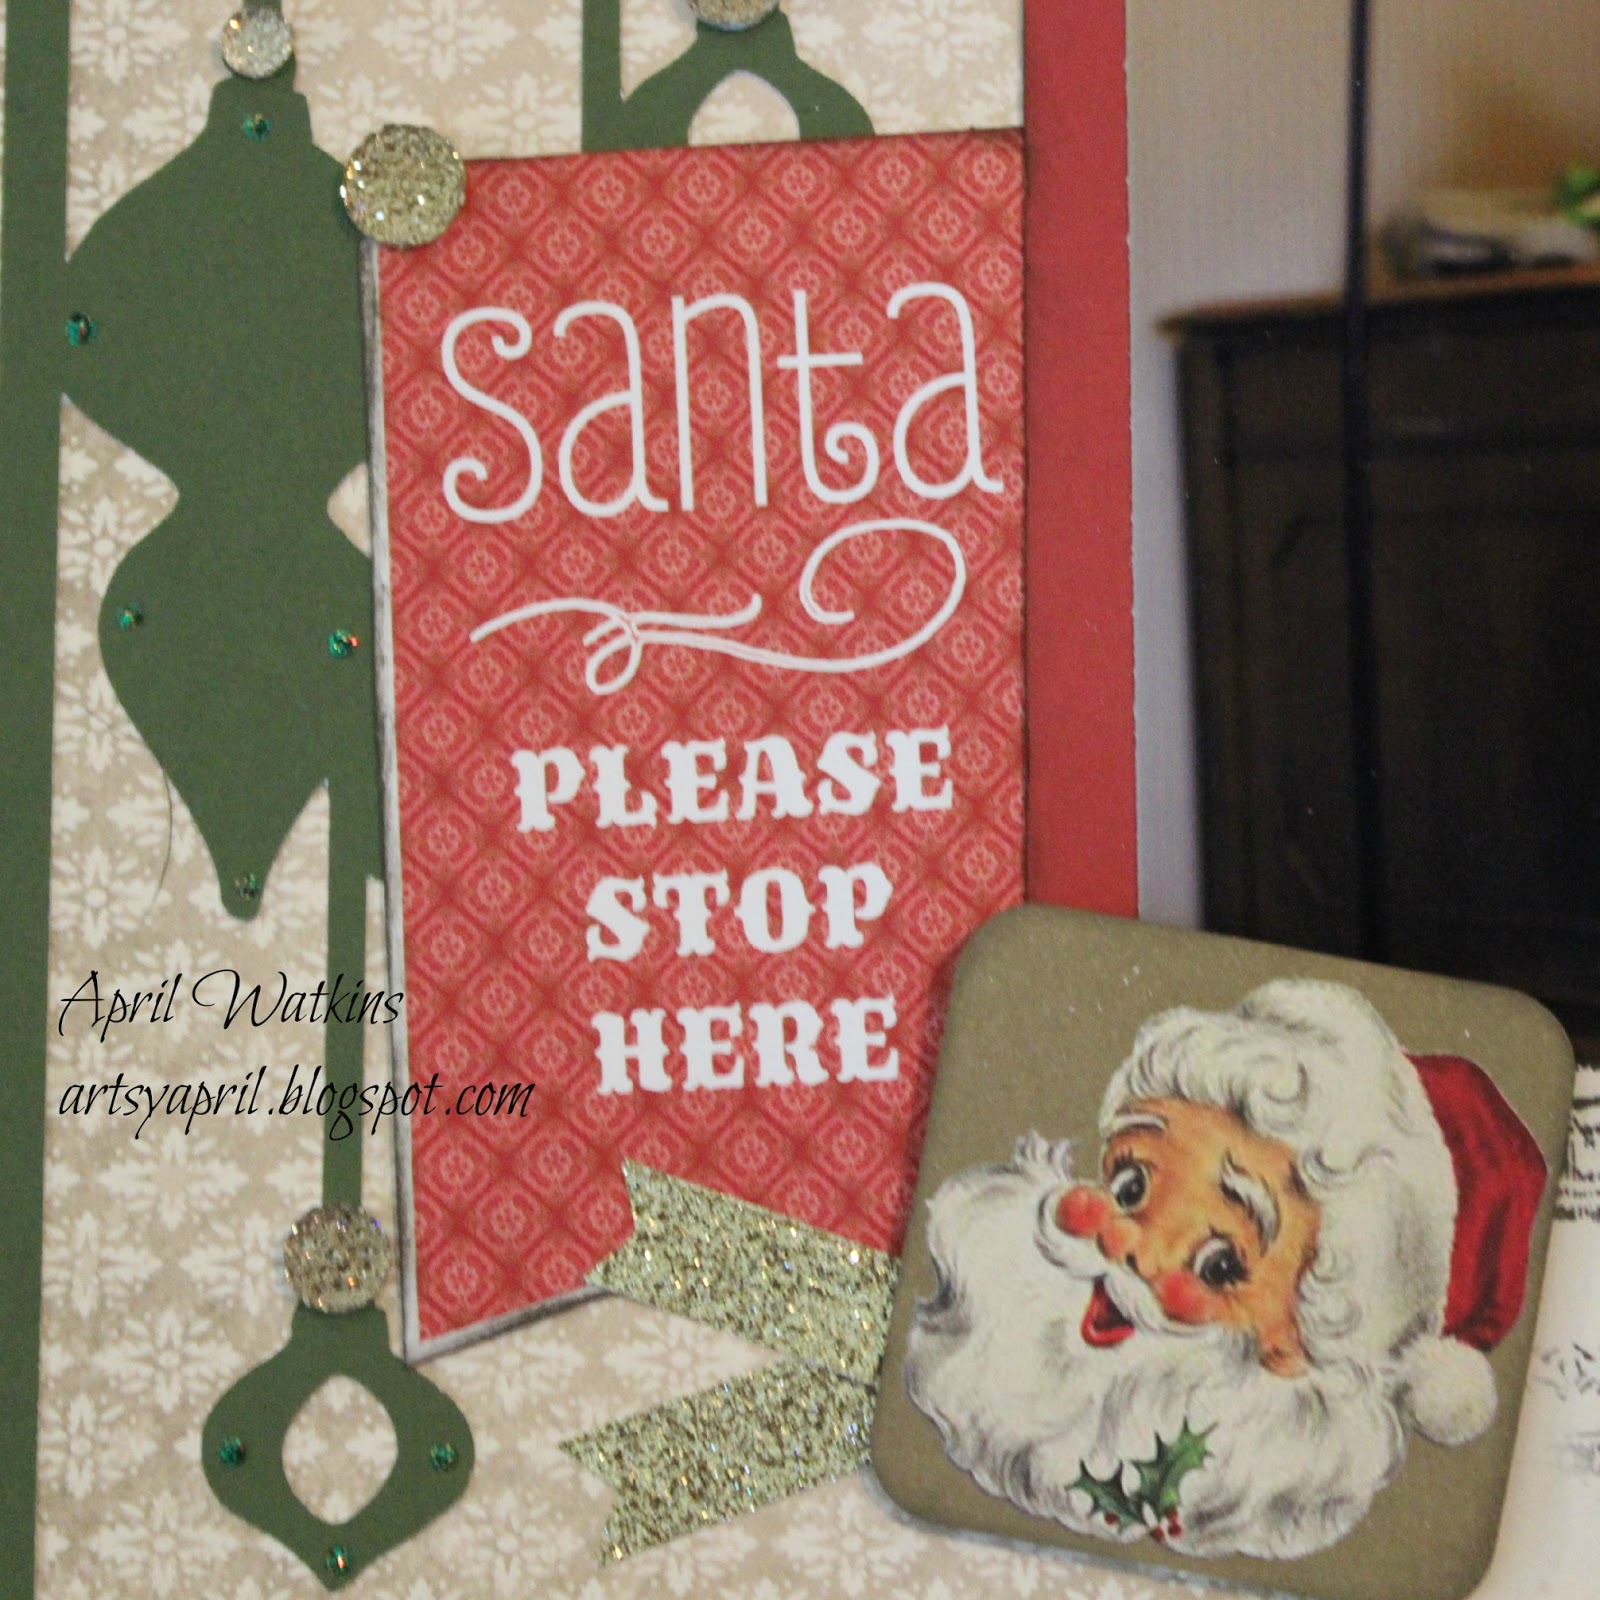
For the left side, I used an overlay from Cricut Artbooking to create this adorable, vintage ornament design. I embellished with a cluster that has a PML card that I cut down and a Santa from the Holiday Happenings Assortment. It's hard to tell in photos, but I actually added a little bling to the ornaments with Stickles.


For the right page, I used some 4x6 flip flaps, so that I could have more photos on the page. I can never have enough Christmas pictures!


For the second spread, I flipped the sketch and kept everything pretty basic.


The left side features an adorable reindeer that I cut from Cricut Artbooking and some more Complements.


For the right page, I used the beautiful flowers on one of the Yuletide Carol pages to create a cluster and cut a border also from Cricut Artbooking to frame the photo.


Ingredients:
Happy Scrapping, My Artsy Friends!

Wednesday, April 22, 2015

What a Wonderful World

Hey there, readers! This week's Heart 2 Heart Challenge is What a Wonderful World. I decide to represent the theme with a two page layout of my family exploring the Clearwater Aquarium. Clearwater Aquarium is best known for the world famous dolphin Winter. Winter lost her tail in the wild, and was rescued by the Aquarium. There are two movies about her story. The Aquarium, to me defines what makes our world wonderful: people helping creatures in need.


I used the Seaside paper pack for this layout, because it has the perfect beachfront aquarium feel. For the left page, I layered the papers to feature a single 5x7 photo.


To embellish the left page, I used a Seaside Picture My Life card with this beautiful coral design. I also added a dolphin from the Life's a Beach Cricut Cartridge. I actually cut the tail off of the dolphin, and put it on the other side of the photo. I thought that was a clever way to represent Winter.


I also created my own B&T using a stamp that came from the Seaside Workshop on the Go. I stamped an entire piece of 12x12 sweet leaf cardstock with sweet leaf ink. The coral and the letters are also cut from Life's a Beach.


For the right page, I layered paper to feature four pictures.


I used flip flaps to hide eight more photos.


I again embellished using a PML card, plus some of the Seaside Compliments and Assortments. The journaling spot is actually from the My Crush Wildwood Assortment. I love how these cards match the Seaside pack perfectly!


More info about Heart 2 Heart Challenges can be found here.

Ingredients:
Happy Scrapping, My Artsy Friends!

Tuesday, March 10, 2015

Using Flip Flaps to Layer Pages

Good morning, scrappers! This week's Heart 2 Heart Challenge is to use your favorite sketch. CTMH has a variety of sketch books for both cards and scrapbooking. When I first became a consultant, these books were my go-to whenever I went to create a layout. Not to mention, the Workshops on the Go, which can really elevate your artwork to the next level. Even though, I have begun using other means for inspiration (like Pinterest), I still find myself coming back to these books regularly.


For our family trip to Florida last year, I had so many pictures!!! I was really struggling narrowing them down. This is often a problem for me. So, I decided to create a full layout using flip-flaps. I used a pattern from the Cherish (Silver Screen, pgs. 20-21) to create the base layout, and then I replicated that layout with the Wanderful WOTG kit an additional two times to fill the flip flaps.


Let's start with the left page. So, the Silver Screen pattern is designed so that the top portion is 8in, and the bottom portion is 4in. The large set of flip flaps contains both of these sizes in it. The top layer of the left side features three pictures, but when you open it up, there is so much more!


You can see that I basically did the same pattern for the 12x12 middle piece, but I switch up the order for the top 8x12 piece. The blank space on the main piece will be for journaling, instead of the original design, which had it where I placed the 3.5x5in photos.


The right page featured five pictures. I did resize these, because I wanted larger vertical pictures. Again, this side was divided into two parts, which I recreated with the flip flaps.


I didn't change anything else about this layout, deciding instead to keep the same layered look all the way down. However, I did do each layer in its very own paper design. Basically, if I really wanted to, I could take these flip flaps apart and put the pages together with their other half.


My biggest tip for those of you who would like to try this is to choose a pattern that has clear boundaries, be it 6x6 or 8x4. You really need an easy place to divide the flip flaps. The Cherish guidebook has several examples of layouts created like this. They can be boxy, but when you add the flaps it isn't noticeable. 

For more information about Heart 2 Heart Challenges visit them here.

Ingredients (click the photo to order your own):


Happy Scrapping, My Artsy Friends!